안녕하세요.
오늘은 PNETLab를 통해서 Arista vEOS Switch를 설치 해보겠습니다.
PNETLab VMware를 실행 합니다.
설치 방법은 아래 글을 참고 부탁드립니다.
https://itblog-kr.tistory.com/122
[PNETLab][#1]- Installation on VMware workstation
안녕하세요. EVE-NG Community 무료 버전을 사용하고 있는데, SDWAN 테스트 할때 Jitter, Delay등등을 테스트 하기 위해서는 EVE-NG PRO로 업그레이드 해야 합니다. 그래서 이번에 PNETLab를 설치 하고 안
itblog-kr.tistory.com
1. Putty를 통해서 PNETLab에 접속 합니다.

IP주소는 위에 참고해서 접속 합니다.
2. ishare2 search veos 검색합니다.
ishare로는 검색이 되지 않습니다.
ishare2를 설치 해야 합니다.
아래 글을 참고 부탁드립니다.
https://itblog-kr.tistory.com/123
[PNETLab][#2]- ishare command
안녕하세요. 오늘은 PNETLab에 ishare command에 대해서 알아보겠습니다.EVE-NG는 시뮬레이션 이미지를 직접 다운로드 받아서 EVE-NG에 업로드 해야합니다.하지만 PNETLab는 자체적으로 시뮬레이션 이미
itblog-kr.tistory.com
| root@pnetlab:~# ishare2 search veos ============================= Available QEMU images ============================= ID NAME SIZE -- ---- ---- 903 veos-4.14.0F 403.1 MiB 904 veos-4.14.5F 402.9 MiB 905 veos-4.15.0F 491.9 MiB 906 veos-4.23.2 425.2 MiB 907 veos-4.23.2.1 431.1 MiB 908 veos-4.24.0 418.5 MiB 909 veos-4.24.1 420.8 MiB 910 veos-4.24.1.1F 420.8 MiB 911 veos-4.24.2.1F 427.0 MiB 912 veos-4.24.2.2F 427.0 MiB 913 veos-4.24.2.3F 426.9 MiB 914 veos-4.24.2.4F 426.9 MiB 915 veos-4.24.2F 426.9 MiB 916 veos-4.24.3M 426.9 MiB 917 veos-4.24.4M 429.0 MiB 918 veos-4.24.5M 429.2 MiB 919 veos-4.24.6M 429.2 MiB 920 veos-4.24.7M 429.4 MiB 921 veos-4.24.8M 428.7 MiB 922 veos-4.25.0F 438.7 MiB 923 veos-4.25.0FX-LDP-RSVP 438.6 MiB 924 veos-4.25.1F 436.9 MiB 925 veos-4.25.2F 423.3 MiB 926 veos-4.25.3.1M 424.1 MiB 927 veos-4.25.3M 423.5 MiB 928 veos-4.25.4M 423.9 MiB 929 veos-4.25.5.1M 433.5 MiB 930 veos-4.25.5M 433.4 MiB 931 veos-4.25.6M 434.1 MiB 932 veos-4.25.7M 433.6 MiB 933 veos-4.26.0.1F 431.0 MiB 934 veos-4.26.0F 431.0 MiB 935 veos-4.26.1F 442.4 MiB 936 veos-4.26.2F 449.1 MiB 937 veos-4.26.3M 449.1 MiB 938 veos-4.26.4M 449.3 MiB 939 veos-4.26.5M 449.4 MiB 940 veos-4.27.0F 442.5 MiB 941 veos-4.27.1F 453.9 MiB 942 veos-4.27.3F 471.1 MiB 943 veos-4.27.4.1M 472.5 MiB 944 veos-4.27.4M 472.5 MiB 945 veos-4.28.0F 481.4 MiB 946 veos-4.28.1F 495.0 MiB 947 veos-4.29.2F 521.3 MiB 45 QEMU images found for the term: "veos" ============================ Available IOL images ============================ ID NAME SIZE -- ---- ---- No IOL images found for the term: "veos" ================================= Available DYNAMIPS images ================================= ID NAME SIZE -- ---- ---- No DYNAMIPS images found for the term: "veos" root@pnetlab:~# |
2. 저는 947 veos-4.29.2F 521.3 MiB 설치해보겠습니다
ishare2 pull qemu 947
| root@pnetlab:~# ishare2 pull qemu 947 [!] IMAGE INFO - Image Name : veos-4.29.2F - Image Size : 521.3 MiB - Image Type : QEMU - Image ID : 947 - Image path : /opt/unetlab/addons/qemu/veos-4.29.2F - Using host : https://labhub.eu.org [!] DOWNLOADING IMAGE /opt/unetlab/addons/qemu/v 100%[======================================>] 521.29M 5.33MB/s in 94s [+] DOWNLOAD COMPLETED! [-] Extracting: veos-4.29.2F.tgz file... [+] Extracted: /opt/unetlab/addons/qemu/veos-4.29.2F. Image ready to use. [-] Fixing permissions... [+] Fix permissions command has been executed correctly root@pnetlab:~# |
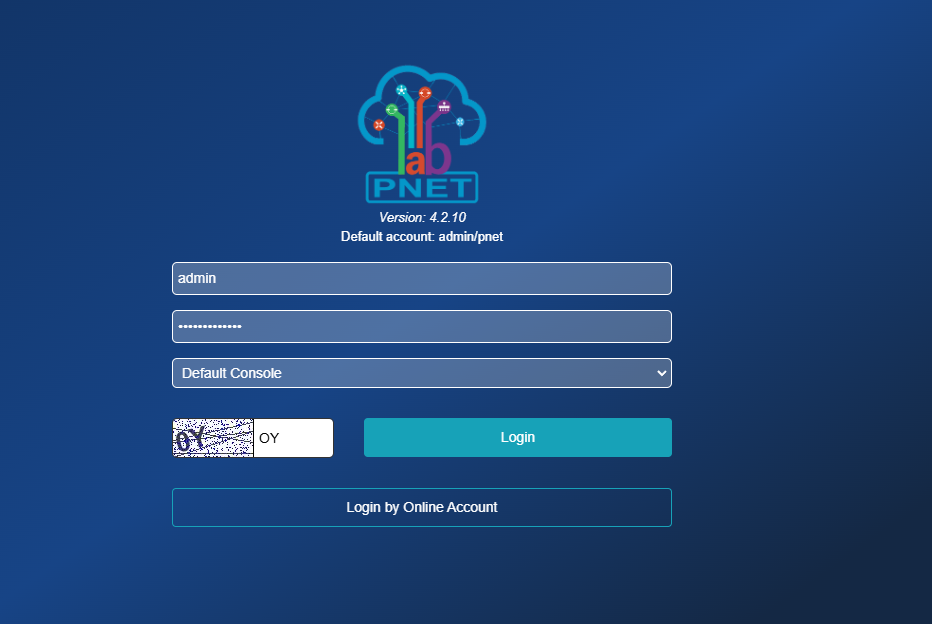
3. https://192.168.40.250 접속 하고 로그인 합니다.
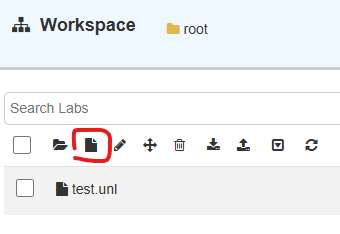
4. 아래 버튼을 클릭 합니다.
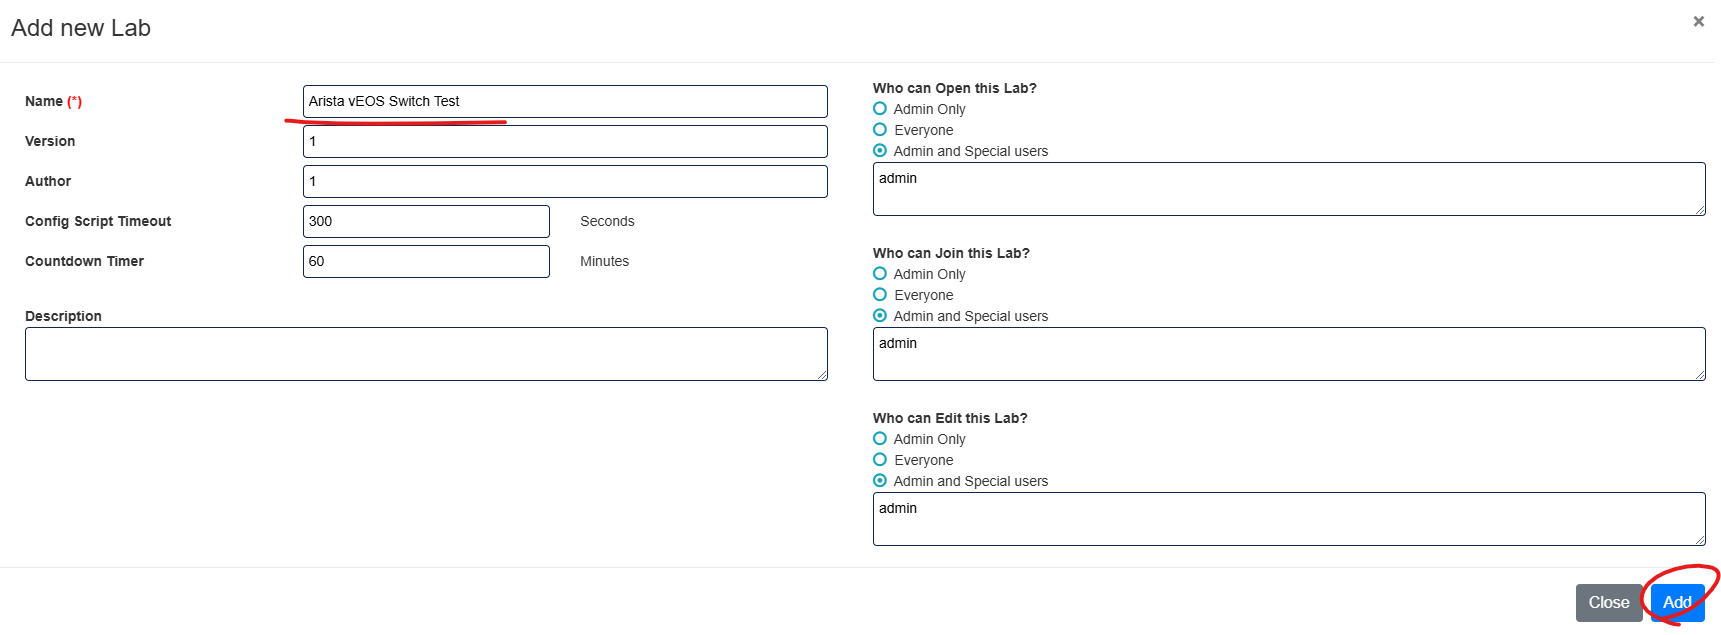
5. 아래처럼 New Lab이름을 정하고 Add버튼을 클릭 합니다.
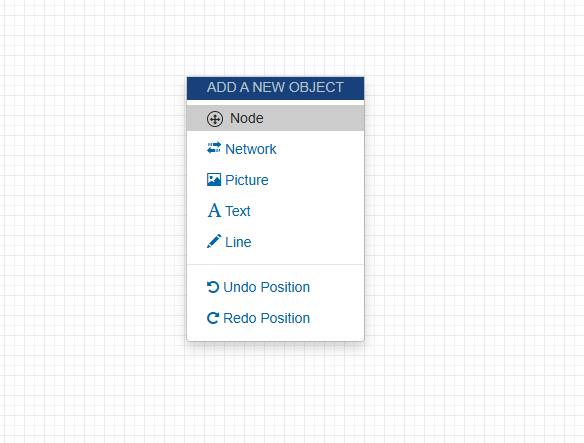
6. 오른쪽 마우스를 클릭하고 Node를 클릭 합니다.
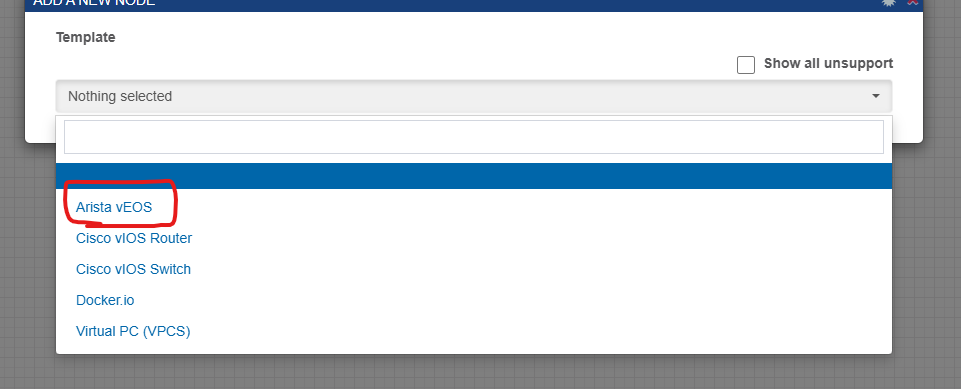
7. Arista vEOS를 선택 합니다.
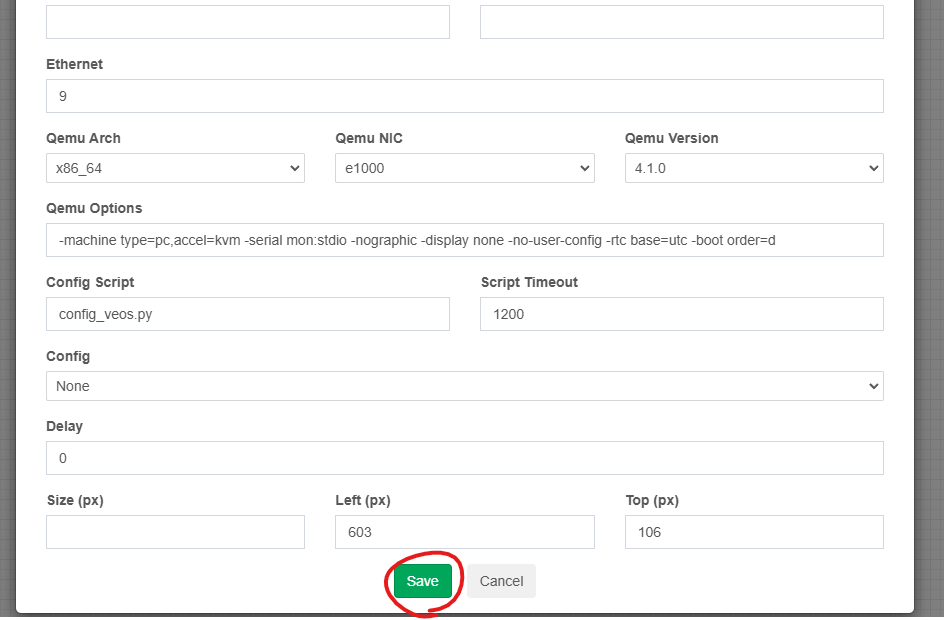
8. 수정없이 그냥 Save버튼을 클릭 합니다.
9. 장비를 부팅 합니다.
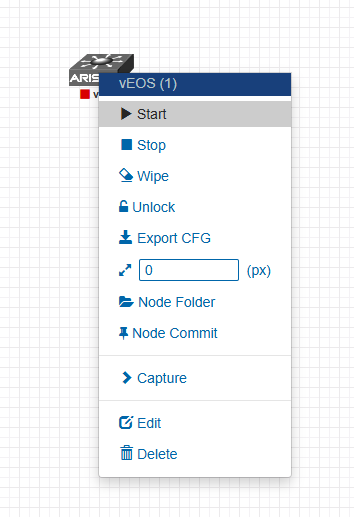
10. 장비를 더블클릭하면 Putty또는 CRT가 자동으로 실행 됩니다.
| [ 4.374620] Running e2fsck on: /mnt/flash [ 4.405684] e2fsck on /mnt/flash took 0s Data in /mnt/flash/vEOS-lab.swi differs from previous boot image on /mnt/flash. Saving new boot image to /mnt/flash... Switching rootfs Welcome to Arista Networks EOS 4.29.2F Architecture: x86_64 Starting ProcMgr: Removing all files in all subdirs of /etc/ProcMgr.d/run [ OK ] Starting EOS initialization stage 1: [ OK ] Starting NorCal initialization: Starting EOS Cloud Init: [ OK ] [ OK ] Starting EOS initialization stage 2: [ OK ] Completing EOS initialization (press ESC to skip): [ OK ] Model and Serial Number: unknown System RAM: 2005420 kB Flash Memory size: 3.9G No startup-config was found. The device is in Zero Touch Provisioning mode and is attempting to download the startup-config from a remote system. The device will not be fully functional until either a valid startup-config is downloaded from a remote system or Zero Touch Provisioning is cancelled. To cancel Zero Touch Provisioning, login as admin and type 'zerotouch cancel' at the CLI. Alternatively, to disable Zero Touch Provisioning permanently, type 'zerotouch disable' at the CLI. Note: The device will reload when these commands are issued. localhost login: Feb 3 12:30:44 localhost ZeroTouch: %ZTP-6-DHCPv4_QUERY: Sending DHCPv4 request with system MAC address on [ Ethernet1, Ethernet2, Ethernet3, Ethernet4, Ethernet5, Ethernet6, Ethernet7, Ethernet8 ] (option 67, 143) Feb 3 12:30:44 localhost ZeroTouch: %ZTP-6-DHCPv4_QUERY: Sending DHCPv4 request with serial number on [ Ethernet1, Ethernet2, Ethernet3, Ethernet4, Ethernet5, Ethernet6, Ethernet7, Ethernet8 ] (option 67, 143) Feb 3 12:30:50 localhost Stp: %SPANTREE-6-STABLE_CHANGE: Stp state is now stable Feb 3 12:30:59 localhost ZeroTouch: %ZTP-4-DHCPv4_QUERY_FAIL: Failed to get a valid DHCPv4 response (option 67, 143) Feb 3 12:30:59 localhost ZeroTouch: %ZTP-6-RETRY: Retrying Zero Touch Provisioning from the beginning (attempt 1) No startup-config was found. The device is in Zero Touch Provisioning mode and is attempting to download the startup-config from a remote system. The device will not be fully functional until either a valid startup-config is downloaded from a remote system or Zero Touch Provisioning is cancelled. To cancel Zero Touch Provisioning, login as admin and type 'zerotouch cancel' at the CLI. Alternatively, to disable Zero Touch Provisioning permanently, type 'zerotouch disable' at the CLI. Note: The device will reload when these commands are issued. localhost login: Feb 3 12:31:14 localhost ZeroTouch: %ZTP-6-DHCPv4_QUERY: Sending DHCPv4 request with system MAC address on [ Ethernet1, Ethernet2, Ethernet3, Ethernet4, Ethernet5, Ethernet6, Ethernet7, Ethernet8 ] (option 67, 143) Feb 3 12:31:14 localhost ZeroTouch: %ZTP-6-DHCPv4_QUERY: Sending DHCPv4 request with serial number on [ Ethernet1, Ethernet2, Ethernet3, Ethernet4, Ethernet5, Ethernet6, Ethernet7, Ethernet8 ] (option 67, 143) No startup-config was found. The device is in Zero Touch Provisioning mode and is attempting to download the startup-config from a remote system. The device will not be fully functional until either a valid startup-config is downloaded from a remote system or Zero Touch Provisioning is cancelled. To cancel Zero Touch Provisioning, login as admin and type 'zerotouch cancel' at the CLI. Alternatively, to disable Zero Touch Provisioning permanently, type 'zerotouch disable' at the CLI. Note: The device will reload when these commands are issued. localhost login: admin localhost> localhost>? clear Reset functions connect TELNET client default Set a command to its defaults disable Disable commands for a specified privilege level enable Enable commands for a specified privilege level exit Leave Exec mode logout Exit from EXEC mode netconf Configure NETCONF no Disable the command that follows ping Ping remote systems reset Reset various components of the switch run Run multiple commands in one line show Display details of switch operation ssh Open ssh connection tcpdump Monitor packets with tcpdump telnet TELNET client terminal Set terminal parameters traceroute Traceroute command watch Execute a command repeatedly zerotouch ZeroTouch configuration localhost> |
시간이 지나면 위에 처럼 정삭적으로 동작합니다.
지금까지 [PNETLab][#4]- Arista vEOS Switch Install 글을 읽어주셔서 감사합니다.
'PNETlab' 카테고리의 다른 글
| [PNETLab][#7]-Aruba Mobility Controller Install (0) | 2025.02.13 |
|---|---|
| [PNETLab][#6]-Aruba CX Switch Install (0) | 2025.02.13 |
| [PNETLab][#5]-Aruba ClearPass Install (0) | 2025.02.10 |
| [PNETLab][#2]- ishare command (0) | 2024.12.27 |
| [PNETLab][#1]- Installation on VMware workstation (0) | 2024.12.27 |