안녕하세요.
오늘은 Cisco ISE Certificate에 대해서 알아보겠습니다.
Certificate:
인증서는 신원을 나타내는 서명된 문서입니다. 증명서는 여권, 운전면허증, 기타 개인 신분증과 같습니다. 그 신분증은 귀하를 대표하고 귀하가 누구인지 증명하기 위한 것입니다. 해당 인증서에는 해당 엔터티의 공개 키도 포함되어 있으므로 공개 인증서가 있는 사람은 누구나 인증서 소유자만 해독할 수 있는 데이터를 암호화할 수 있습니다. 인증서는 보안 액세스를 구현하는 네트워크에서 자주 사용됩니다. 인증서는 엔드포인트에 대한 ISE(Identity Services Engine)를 식별하고 해당 엔드포인트와 ISE 노드 간의 통신을 보호하는 데 사용됩니다. 인증서는 EAP(확장 가능 인증 프로토콜) 통신은 물론 모든 HTTPS 통신에 사용됩니다.
Admin Certificate:
관리자 인증서는 노드 간 통신 및 관리자 포털 인증에 사용됩니다. 관리자 인증서는 ISE와의 통신을 인증하거나 보안하는 데 사용되는 서버 인증서입니다. 또한 다중 노드 구축에서 ISE 노드 간의 신뢰 관계를 설정하고 통신을 보안하는 데에도 사용됩니다. 다른 HTTPS 서버와 마찬가지로 엔드포인트에서 ISE GUI를 탐색할 때마다 ISE는 해당 인증서를 클라이언트 브라우저에 제공하고 클라이언트가 인증서를 신뢰하는 경우 TLS/SSL 터널이 형성됩니다. 그런 다음 클라이언트는 설정된 터널을 통해 필요한 로그인 자격 증명과 추가 요청/응답을 보냅니다. 클라이언트가 인증서를 신뢰하지 않은 경우 브라우저에 경고가 표시되며 대부분의 경우 사용자에게 위험을 수락하고 서버와의 통신 설정을 진행할 수 있는 권한이 제공됩니다. 그러나 클라이언트가 인증서를 신뢰하지 않고 위험을 감수할 의사가 없는 경우 ISE에 대한 HTTPS 연결이 종료됩니다.
Example)
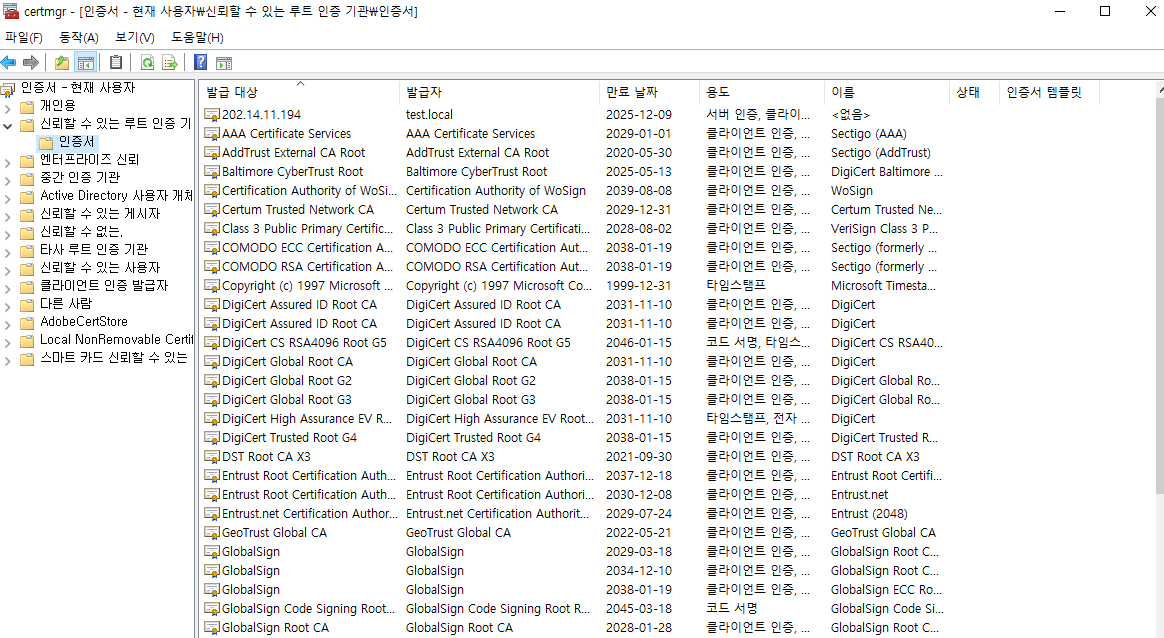
cisco ise GUI로 접속하면 cisco ise 발급한 인증서는 자체 인증서이기때문에, 제 컴퓨터 trusted certificate 폴더에 cisco ise 인증서가 없습니다.
그래서 신뢰 하지 않는 인증서라고 표시가 됩니다.

EAP Authentication Certificate:
Client(Supplicant) <---------------------> NAD <--------------------------> ISE
인증서는 가능한 거의 모든 EAP 방법인 EAP-TLS, PEAP 및 EAP-FAST와 함께 사용됩니다. PEAP 및 FAST와 같은 터널링된 EAP 방법에서는 TLS(전송 계층 보안)를 사용하여 자격 증명 교환을 보호합니다. HTTPS 웹 사이트로 이동하는 것과 마찬가지로 클라이언트는 서버에 대한 연결을 설정하고 서버는 해당 인증서를 클라이언트에 제공합니다. 클라이언트가 인증서를 신뢰하면 TLS 터널이 형성됩니다. 클라이언트의 자격 증명은 이 터널이 설정될 때까지 서버로 전송되지 않으므로 보안 교환이 보장됩니다. 보안 액세스 구축에서 클라이언트는 신청자이고 서버는 ISE 정책 서비스 노드입니다. 클라이언트는 서버를 신뢰해야 하며 인증서 내의 키는 통신을 암호화하고 해독하는 데 사용됩니다.
Wildcard Certificates:
와일드카드 인증서는 와일드카드 표기법(도메인 이름 앞에 별표와 마침표)을 사용하고 조직의 여러 호스트에서 인증서를 공유할 수 있도록 하는 인증서입니다. 와일드카드 인증서의 주체 이름에 대한 CN 값의 예는 *.test.local과 같습니다. *.test.local을 사용하도록 와일드카드 인증서를 구성하는 경우 동일한 인증서를 사용하여 DNS 이름이 ".test.local"로 끝나는 모든 호스트(예: aaa.test.local, psn.test.local)를 보호할 수 있습니다.
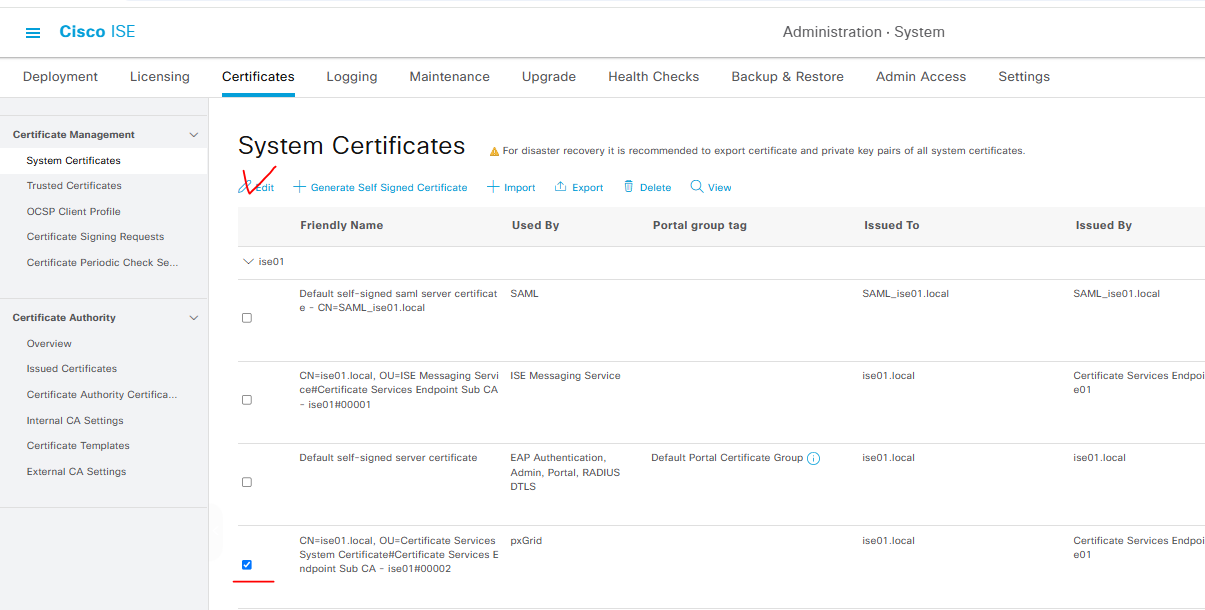
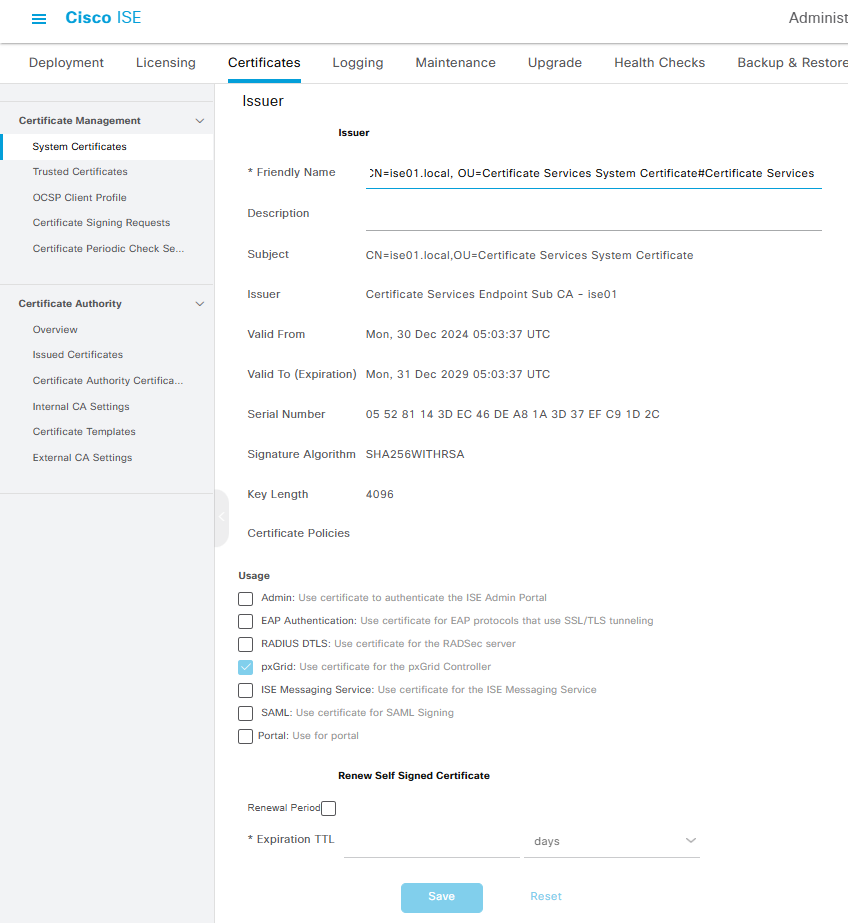
System Certificate:
개별 ISE 노드에 연결된 인증서입니다. 이는 클라이언트 애플리케이션에 대해 Cisco ISE 노드를 식별하는 서버 인증서입니다. 모든 Cisco ISE 노드에는 자체 시스템 인증서가 있으며, 각 인증서는 해당 개인 키와 함께 노드에 저장됩니다.
Trusted Certificate:
인증 기관 ISE는 신뢰합니다. 이는 사용자 및 장치로부터 받은 공개 키에 대한 신뢰를 설정하는 데 사용되는 인증 기관(CA) 인증서입니다. 신뢰할 수 있는 인증서 저장소의 인증서는 PAN(기본 관리 노드)에서 관리되며 Cisco ISE 구축의 다른 모든 노드에 자동으로 복제됩니다.
Certificate Signing Requests:
CA를 통한 서명 요청을 생성하기 위한 템플릿입니다. 인증 기관(CA)이 서명된 인증서를 발급하려면 CSR(인증서 서명 요청)을 생성하여 CA에 제출해야 합니다. CA(인증 기관)에서 서명을 얻으려면 CSR을 내보낸 다음 CA에 인증서를 보내야 합니다. CA는 인증서에 서명하고 반환합니다.
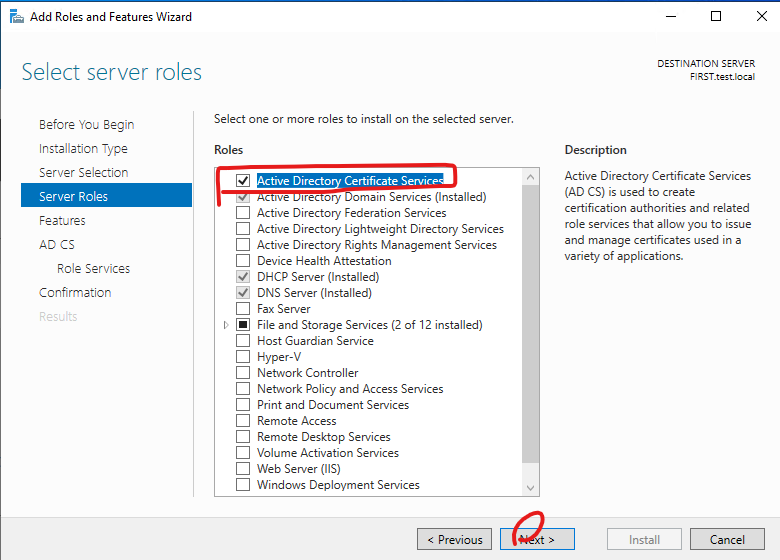
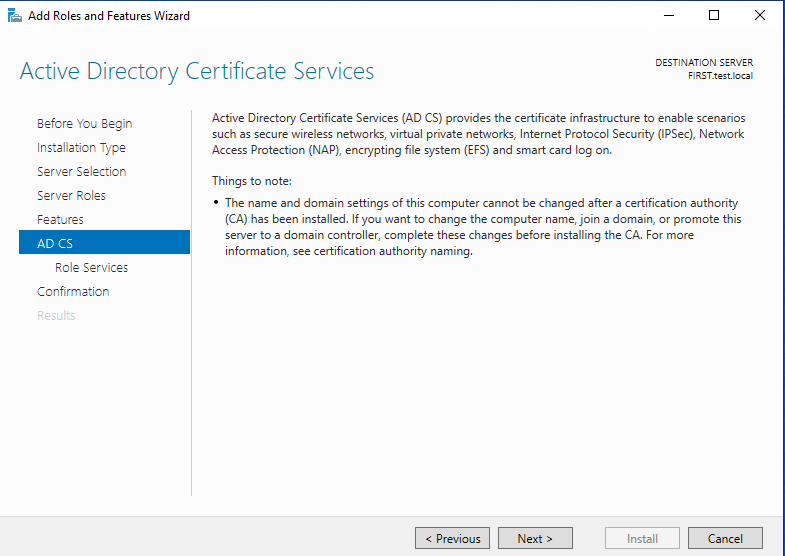
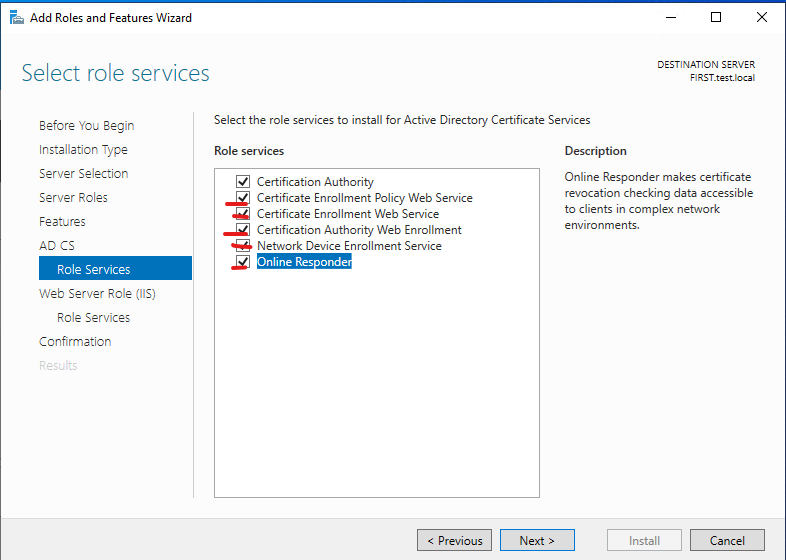
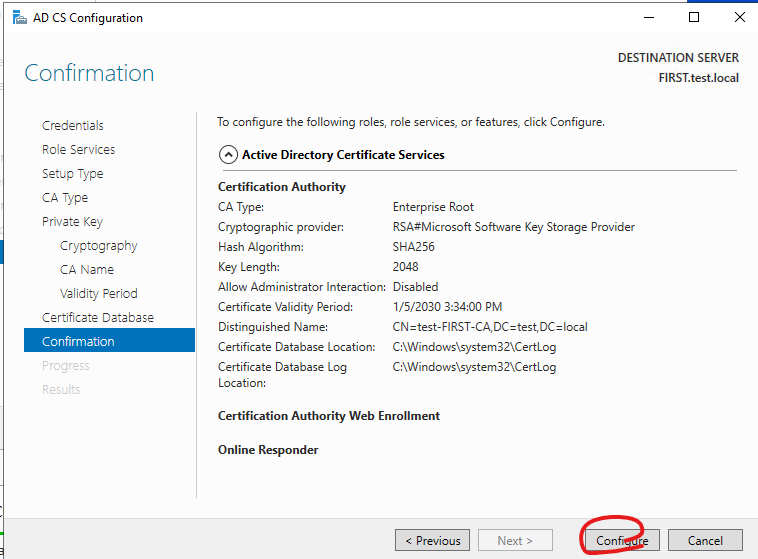
Certificate Authority:
ISE를 CA 서버로 전환하기 위한 설정입니다. Cisco ISE CA(내부 인증 기관)는 직원이 회사 네트워크에서 개인 장치를 사용할 수 있도록 중앙 콘솔에서 엔드포인트에 대한 디지털 인증서를 발급하고 관리합니다.
지금까지 [2025][CISCO ISE#20] - Certificate 글을 읽어주셔서 감사합니다.
'CISCO > CISCO ISE' 카테고리의 다른 글
| [2025][CISCO ISE#22] - Integration with active directory (0) | 2025.01.06 |
|---|---|
| [2025][CISCO ISE#21] - Certificate Issue (0) | 2025.01.06 |
| [2025][CISCO ISE#19] - License Register (0) | 2025.01.06 |
| [2025][CISCO ISE#18] - License (0) | 2025.01.06 |
| [2025][CISCO ISE#17] - Personas (1) | 2025.01.06 |