안녕하세요.
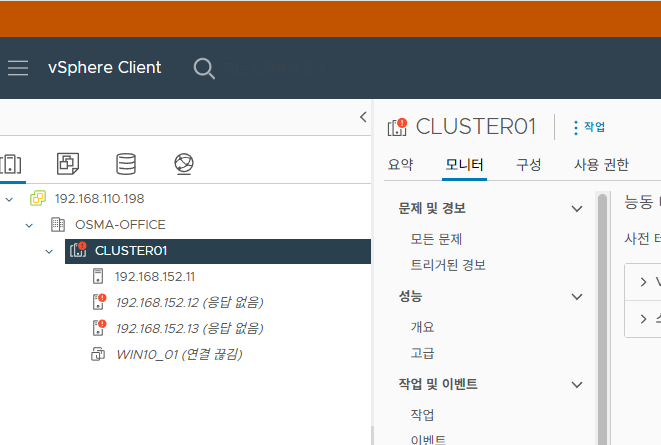
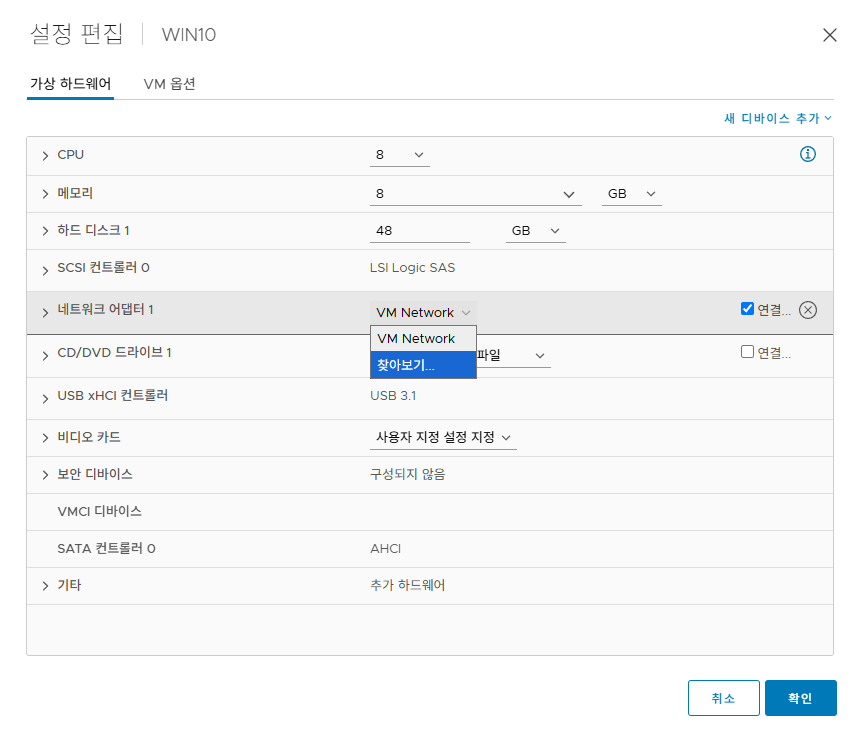
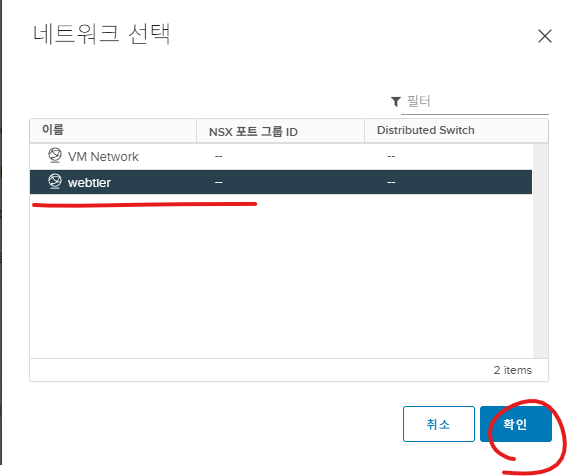
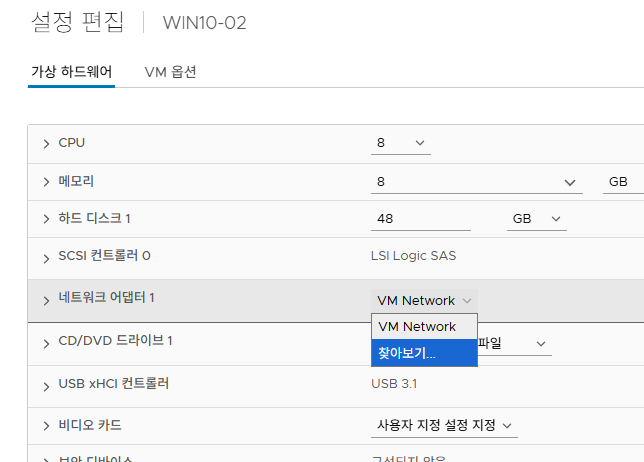
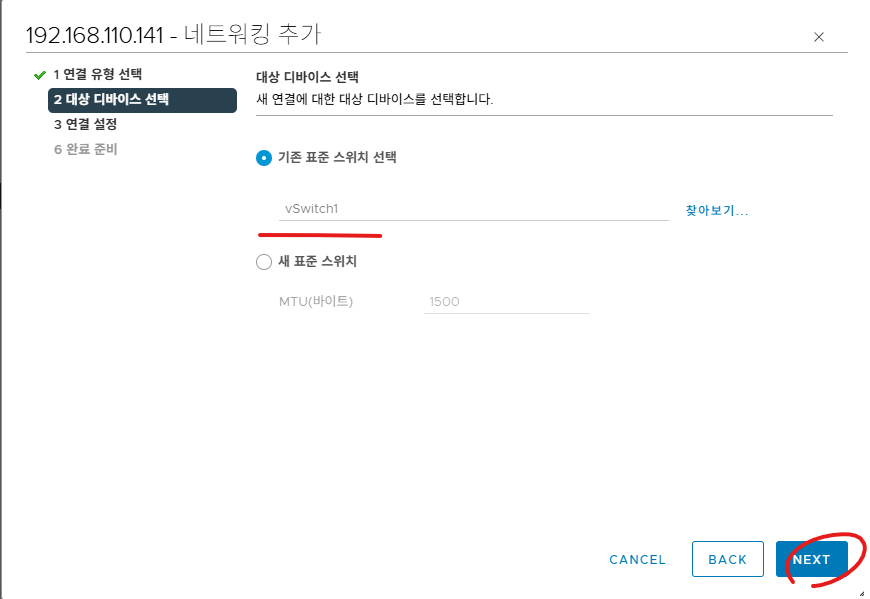
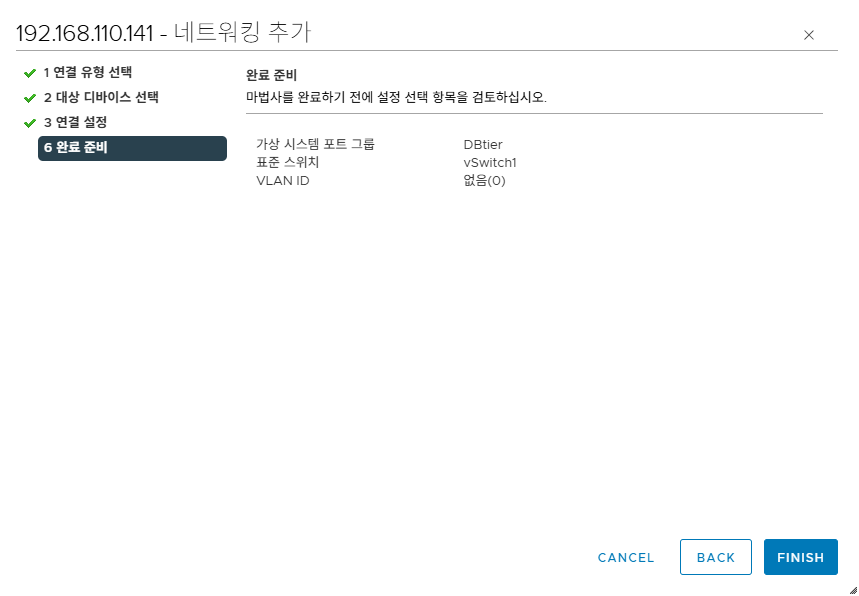
DVS는 vCenter에 연동되어서 관리 수정 삭제가 가능합니다.
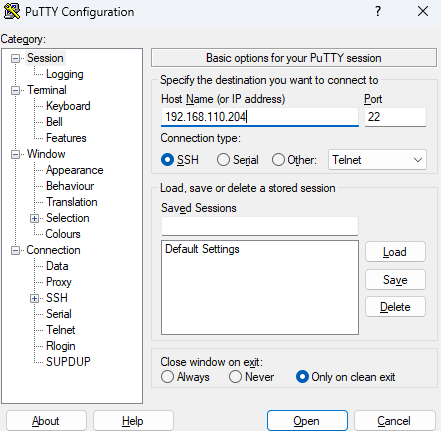
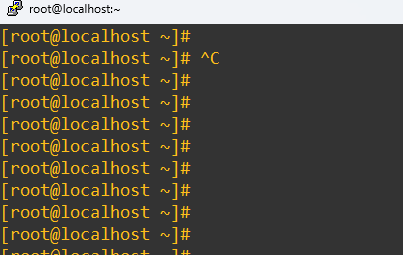
하지만 ESXi SSH접속해서 DVS를 강제로 삭제 가능 합니다.
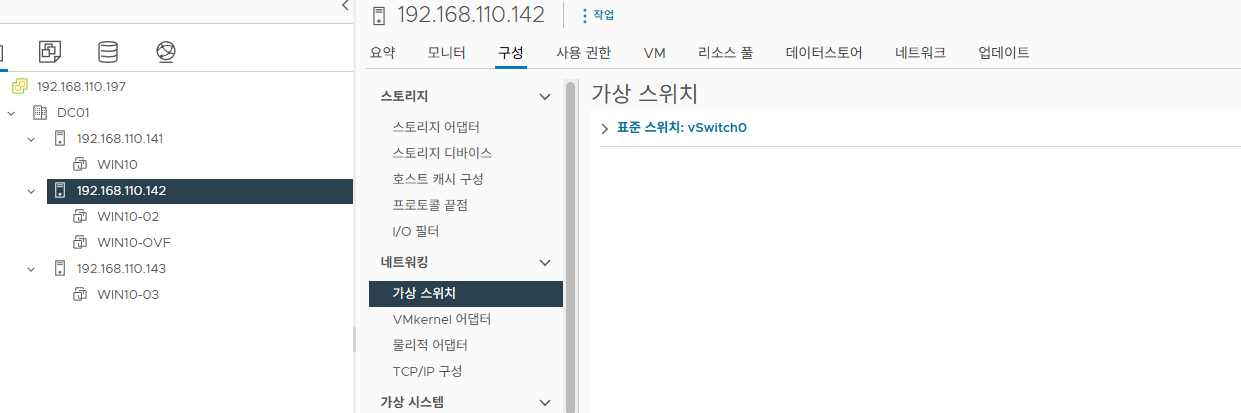
아래처럼 switch 리스트 확인.
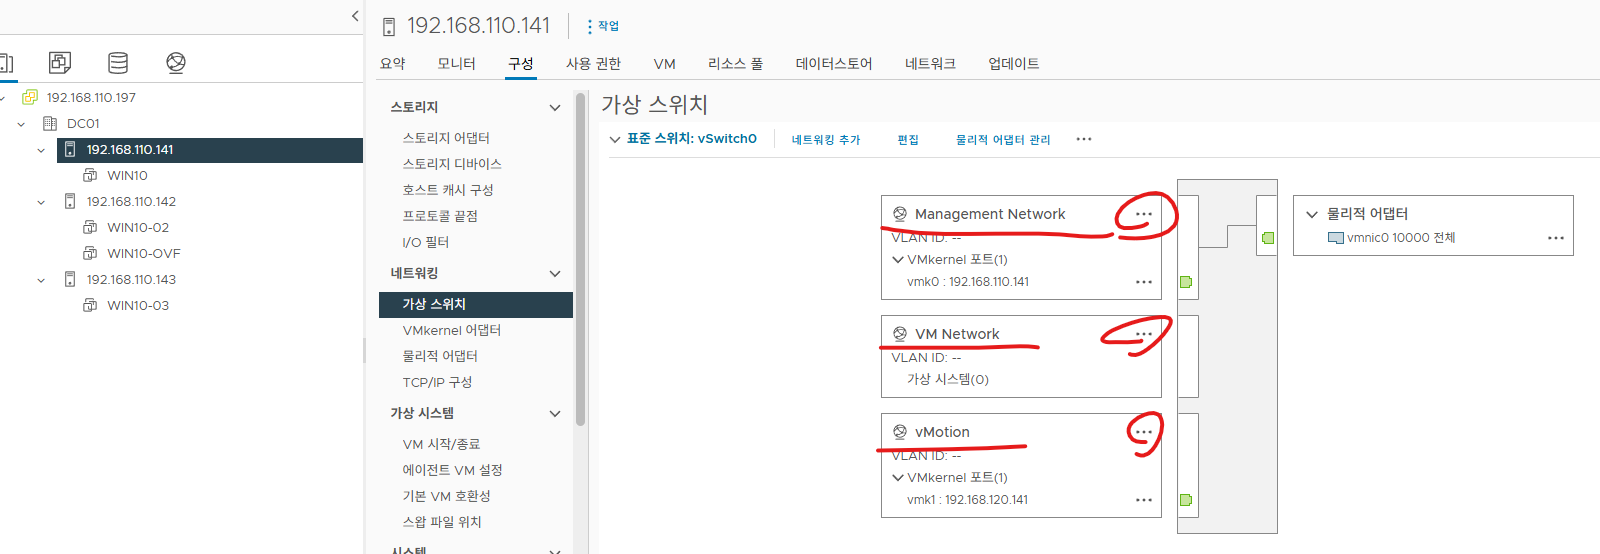
DVS - Distribute Switch
[root@esxi01:~] esxcfg-vswitch -l
Switch Name Num Ports Used Ports Configured Ports MTU Uplinks
vSwitch0 4850 4 128 1500 vmnic0
PortGroup Name VLAN ID Used Ports Uplinks
VM Network 0 0 vmnic0
Management Network 0 1 vmnic0
DVS Name Num Ports Used Ports Configured Ports MTU Uplinks
DVS 4850 1 128 1500
DVPort ID In Use Client
58 0
59 0
60 0
61 0
14 0
22 0
[root@esxi01:~] net-dvs -d DVS
[root@esxi01:~] esxcfg-vswitch -l
Switch Name Num Ports Used Ports Configured Ports MTU Uplinks
DvsPortset-0 4850 1 128 1500
PortGroup Name VLAN ID Used Ports Uplinks
Switch Name Num Ports Used Ports Configured Ports MTU Uplinks
vSwitch0 4850 4 128 1500 vmnic0
PortGroup Name VLAN ID Used Ports Uplinks
VM Network 0 0 vmnic0
Management Network 0 1 vmnic0
DVS Name Num Ports Used Ports Configured Ports MTU Uplinks
Listing failed for DVSwitch: DvsPortset-0, Error: Unable to get MTU: Status(bad0007)= Bad parameter
[root@esxi01:~]
'가상화(Virtualization) > vCenter' 카테고리의 다른 글
| [VMware vCenter][#19]- vCenter에서 ESXi 연결 끊김 - 해결 방법 (0) | 2025.10.24 |
|---|---|
| [VMware vCenter][#18]- Traffic Shaping (1) | 2025.10.21 |
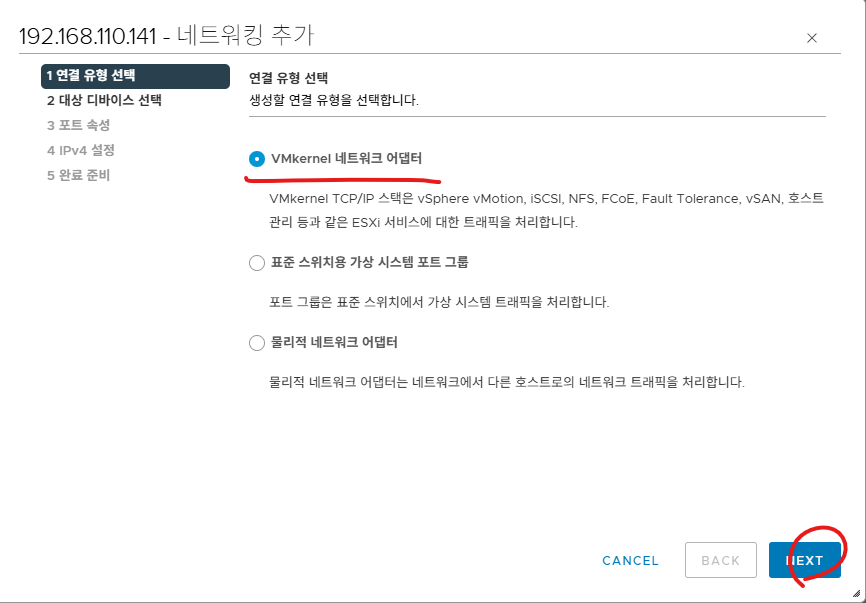
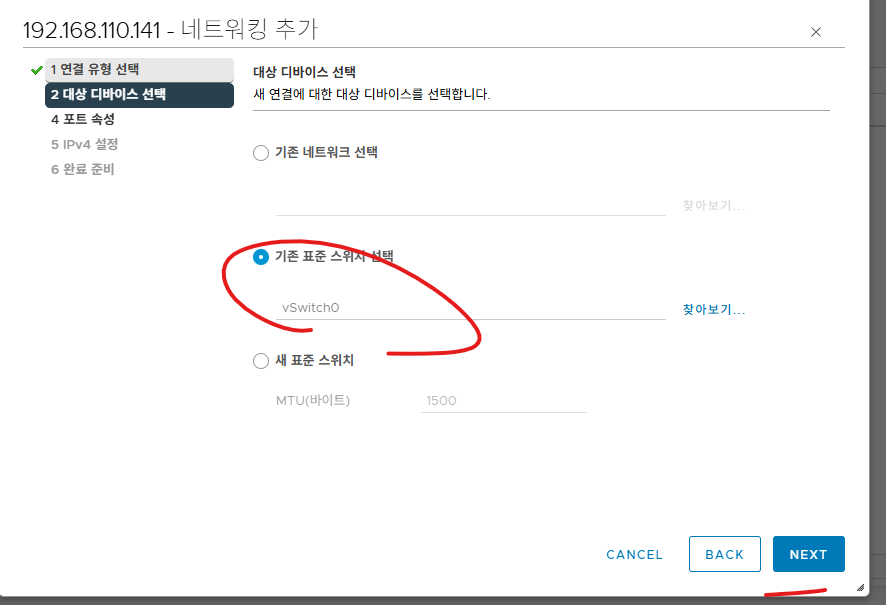
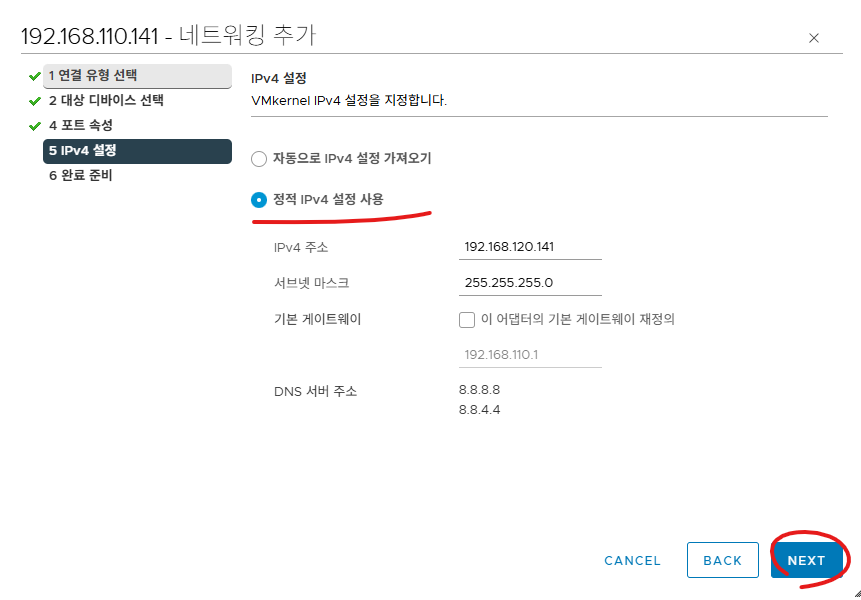
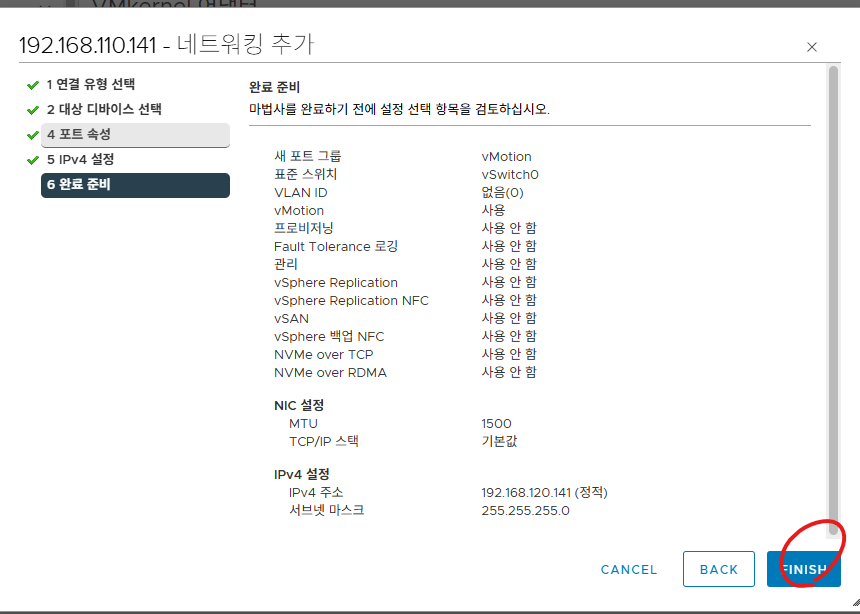
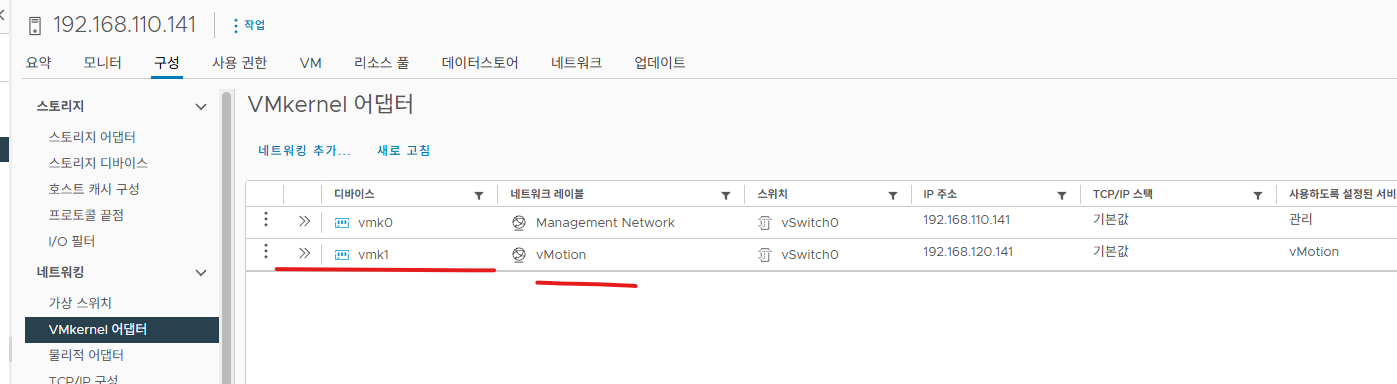
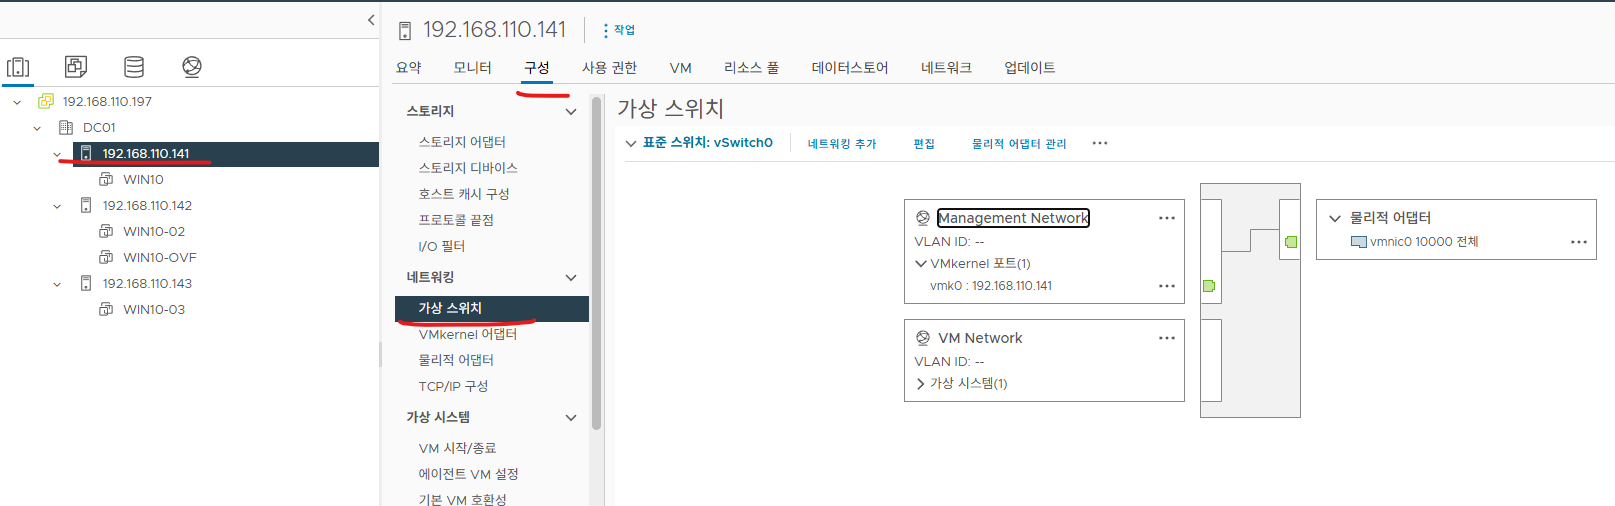
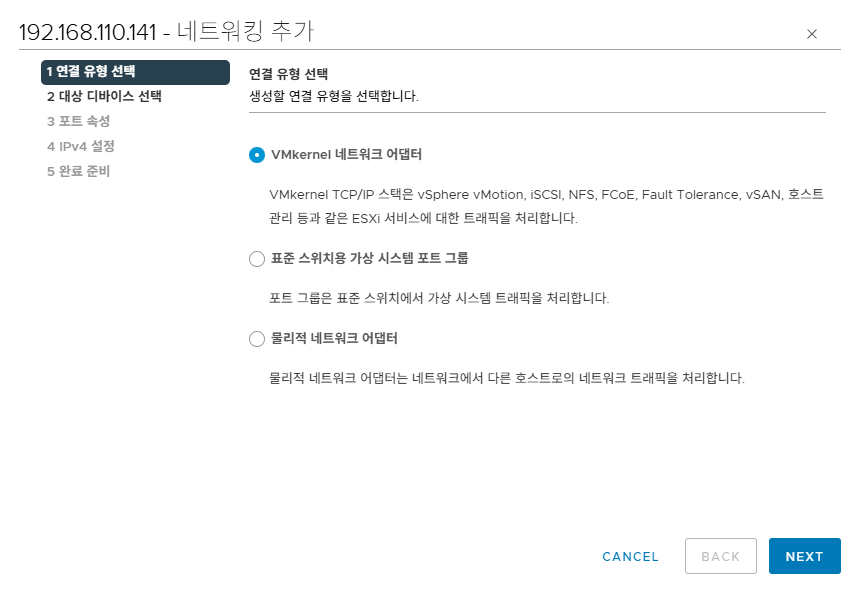
| [VMware vCenter][#17]- VMkernel Adapter (0) | 2025.10.18 |
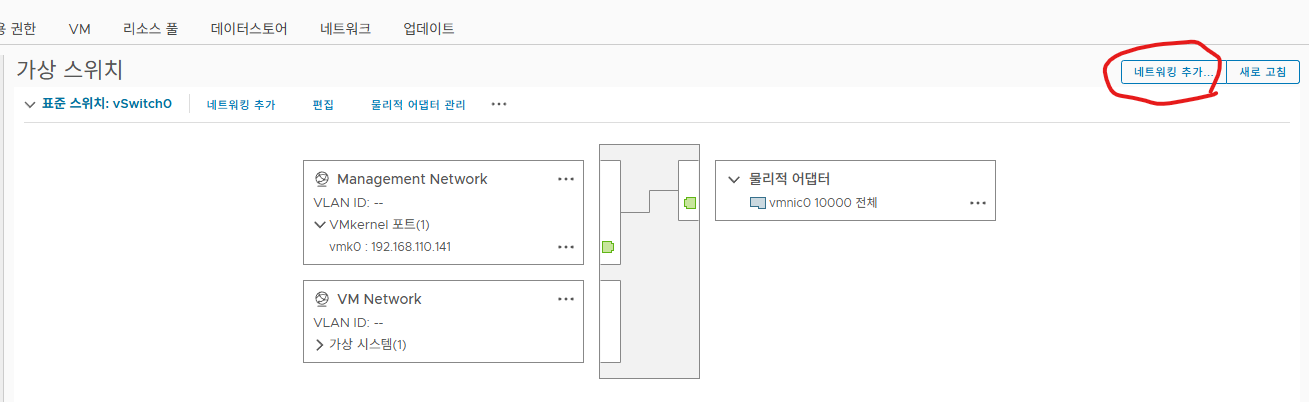
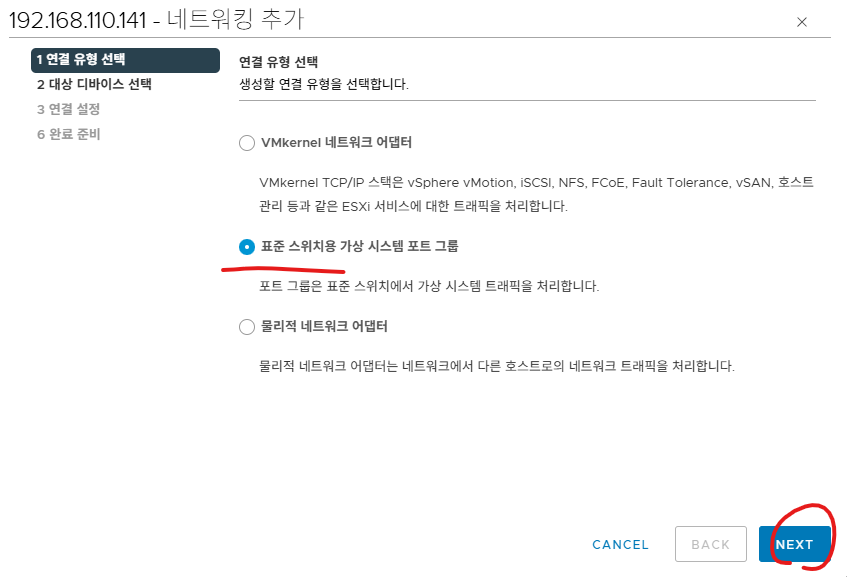
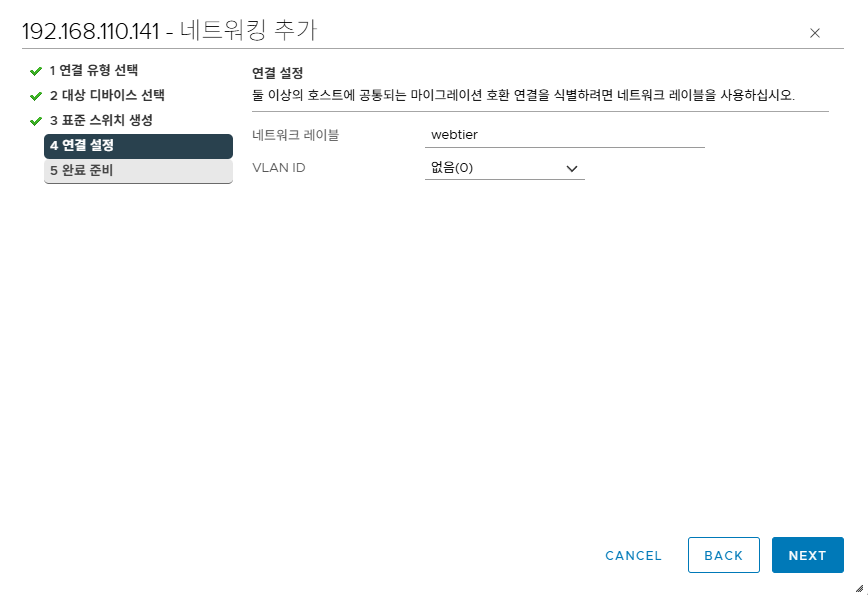
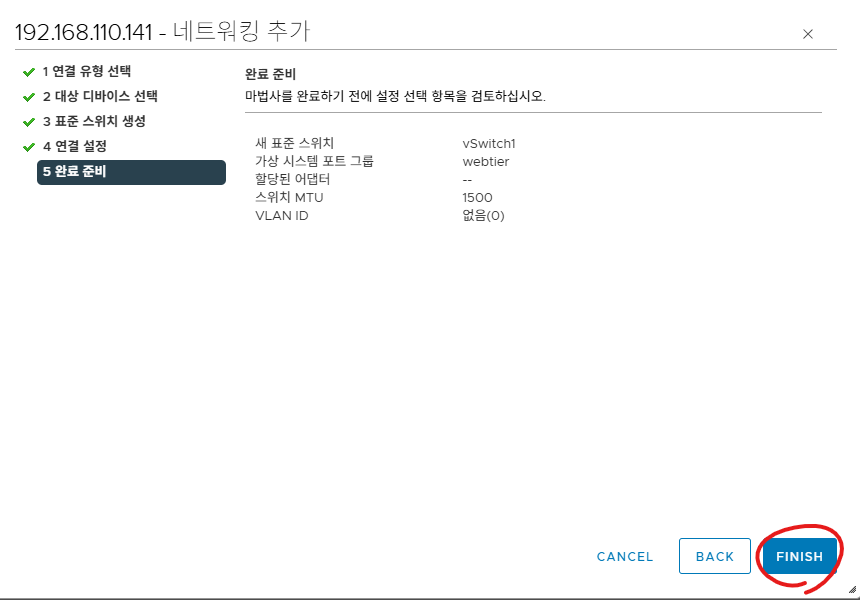
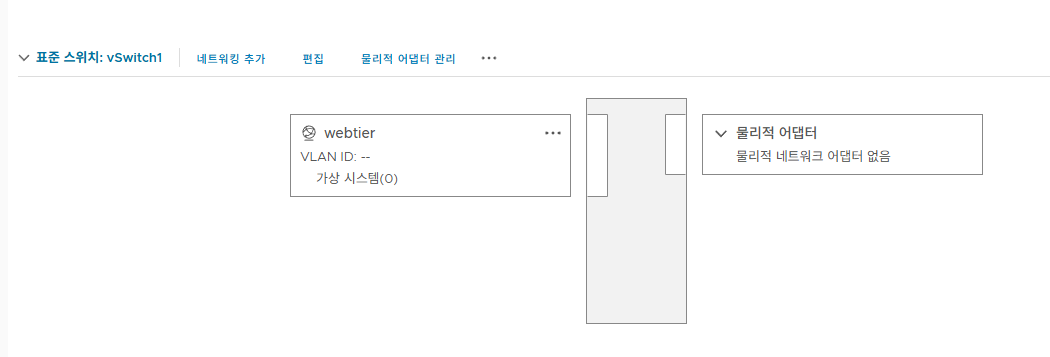
| [VMware vCenter][#16]- VSS - Virtual Standard Switch (0) | 2025.10.18 |
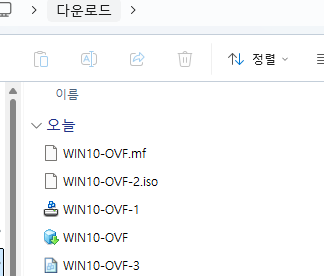
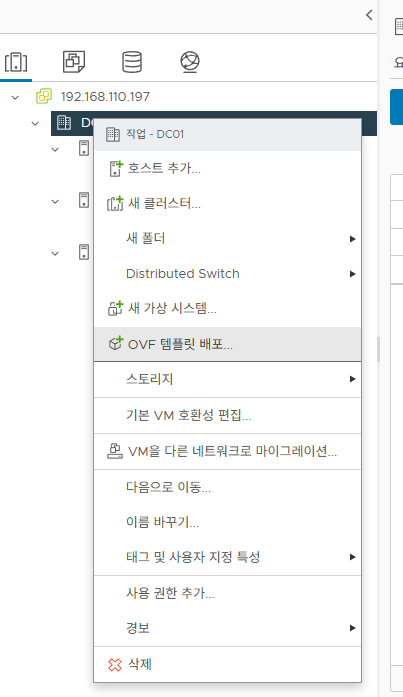
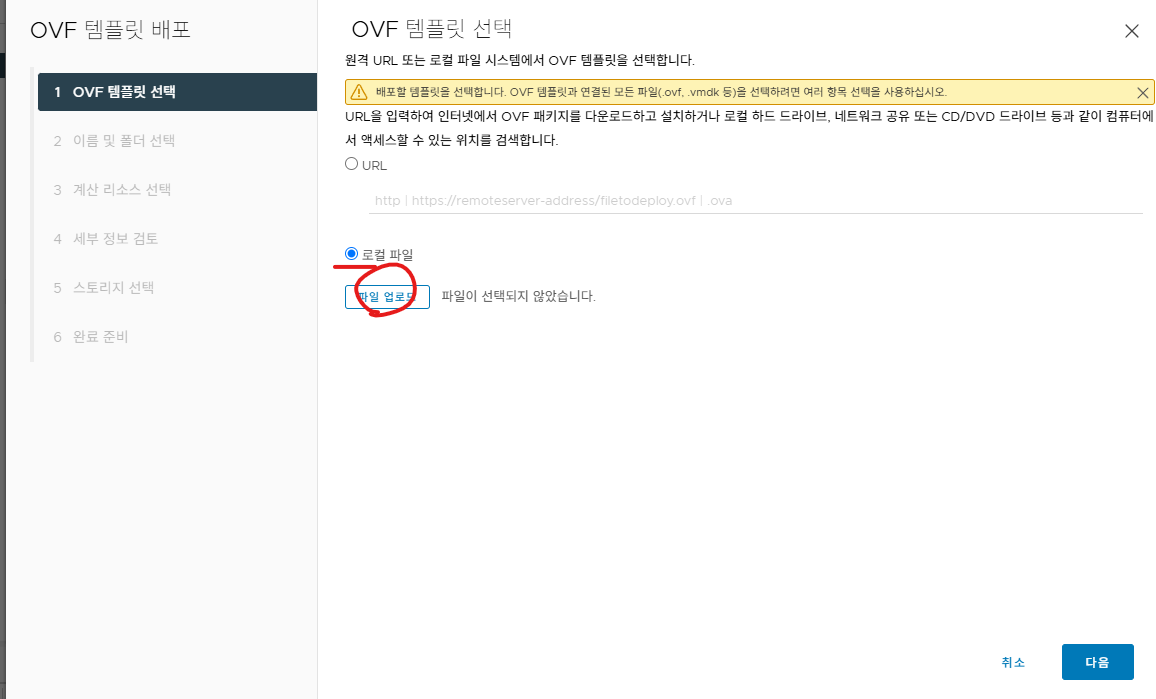
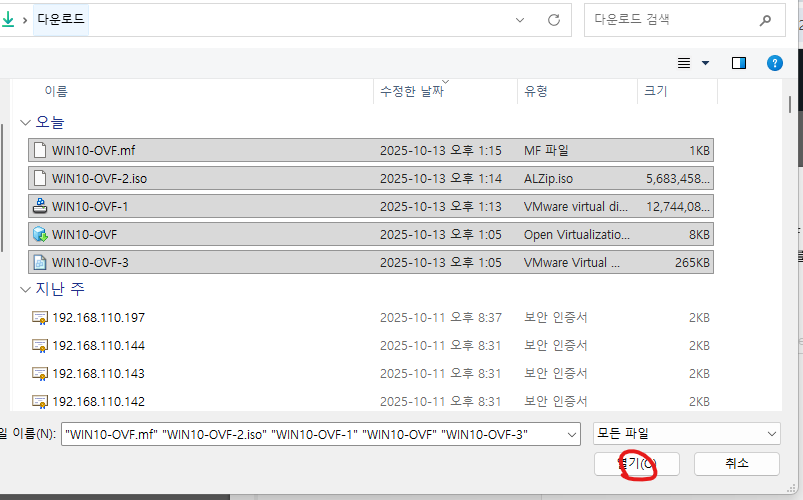
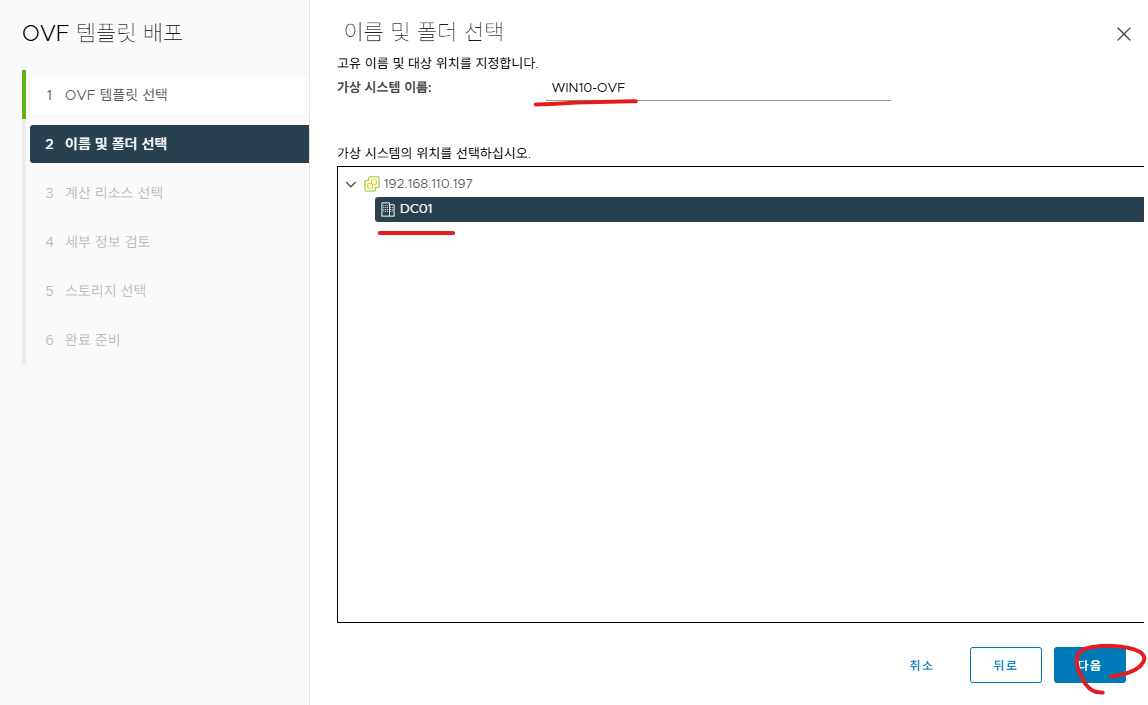
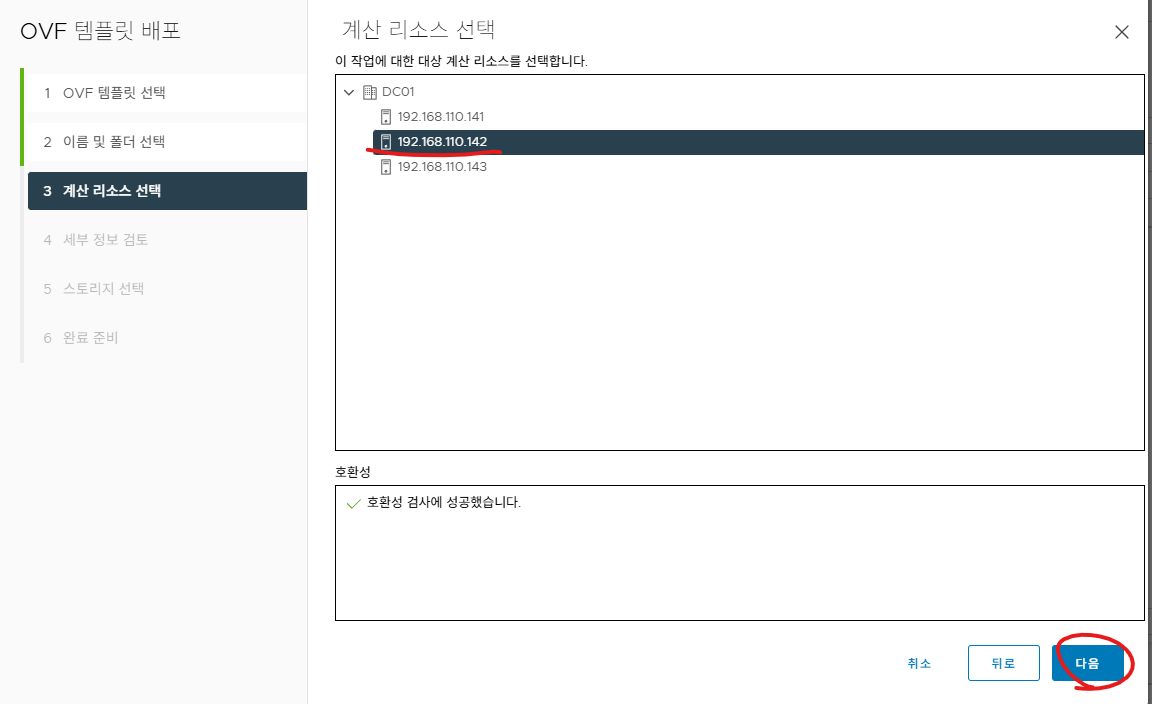
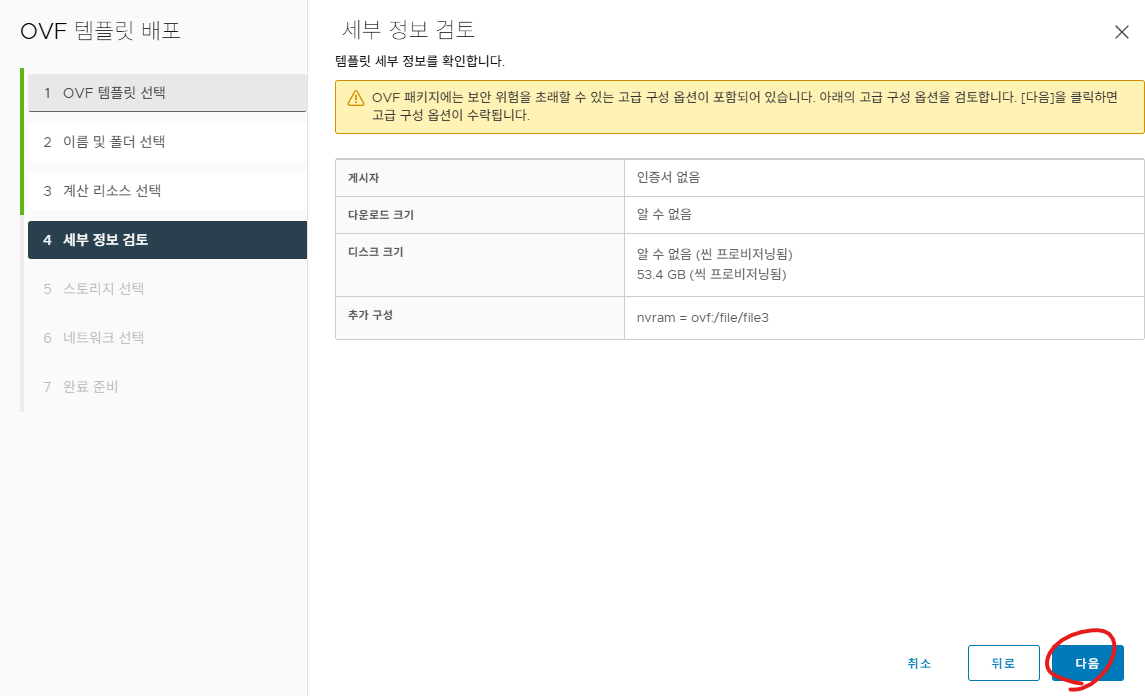
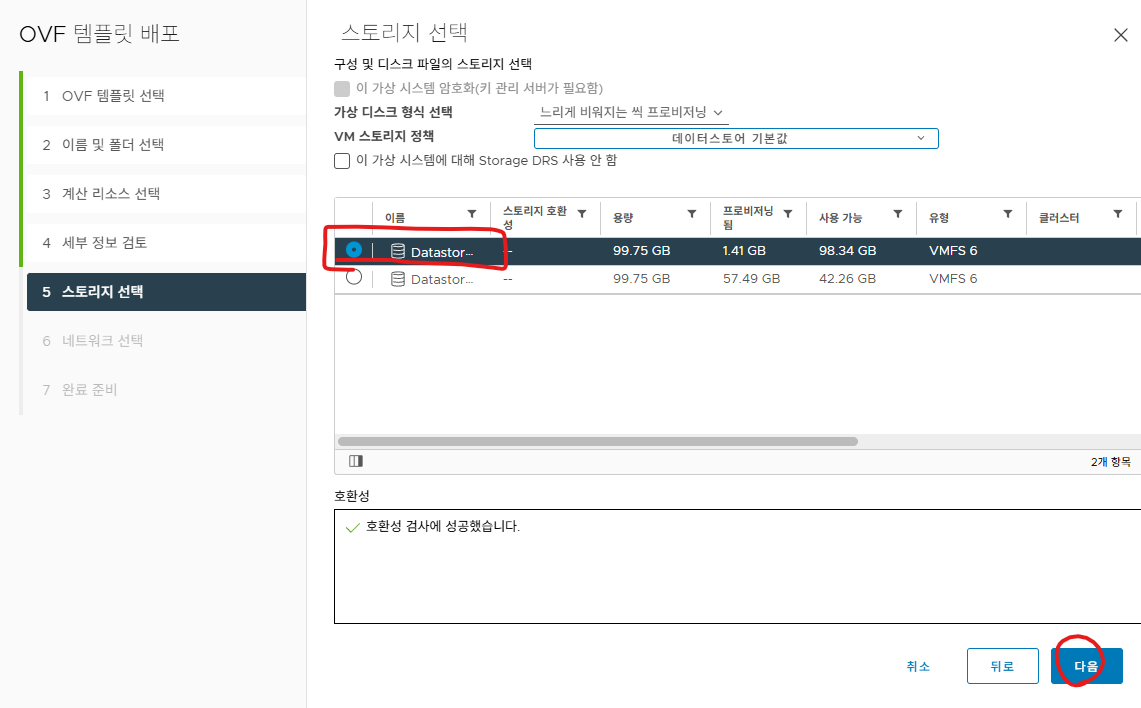
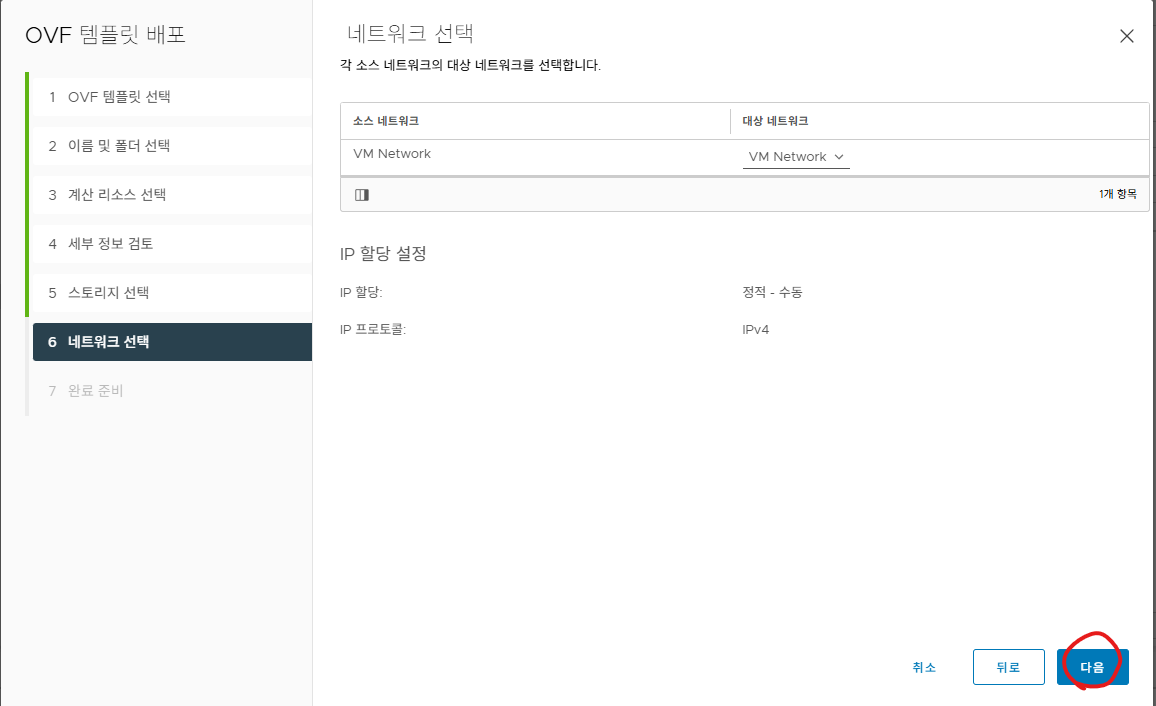
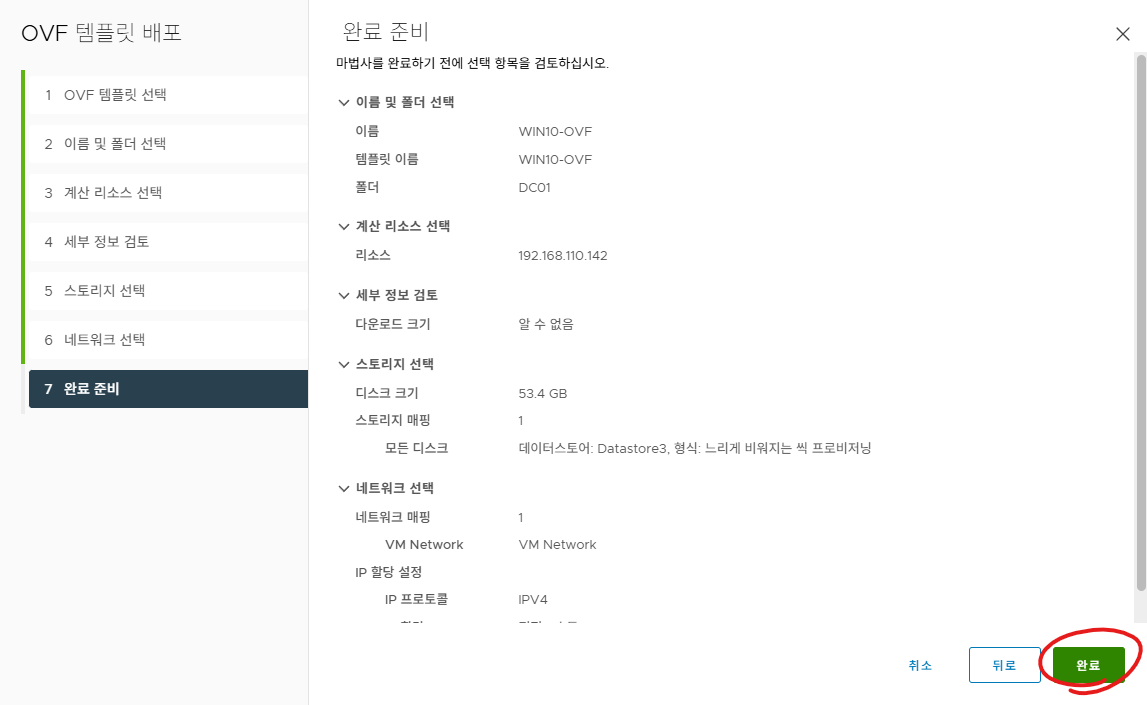
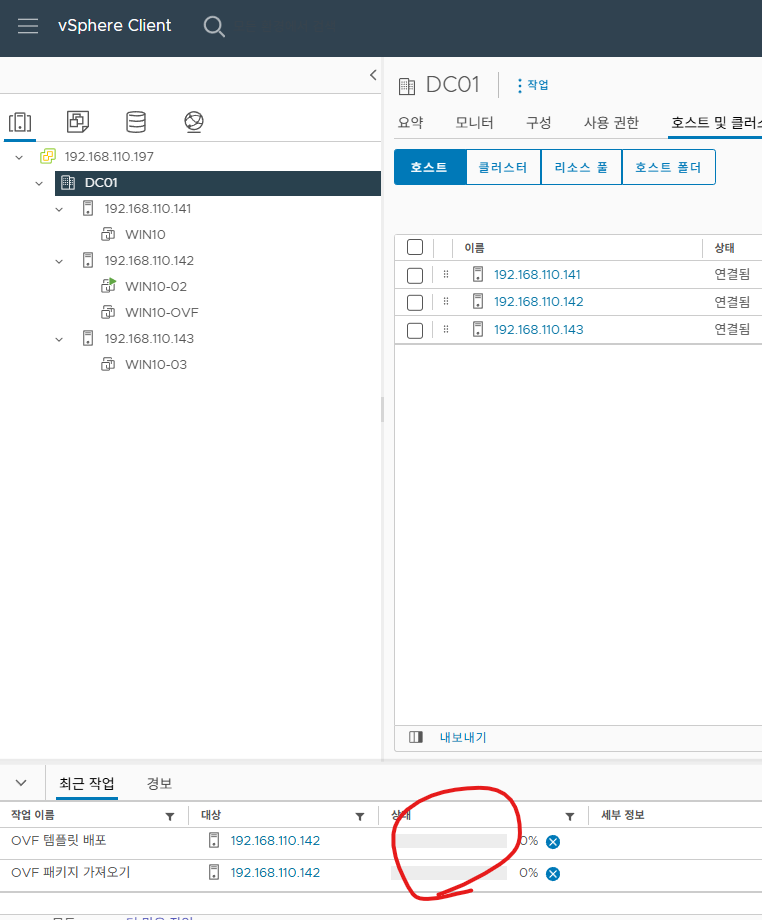
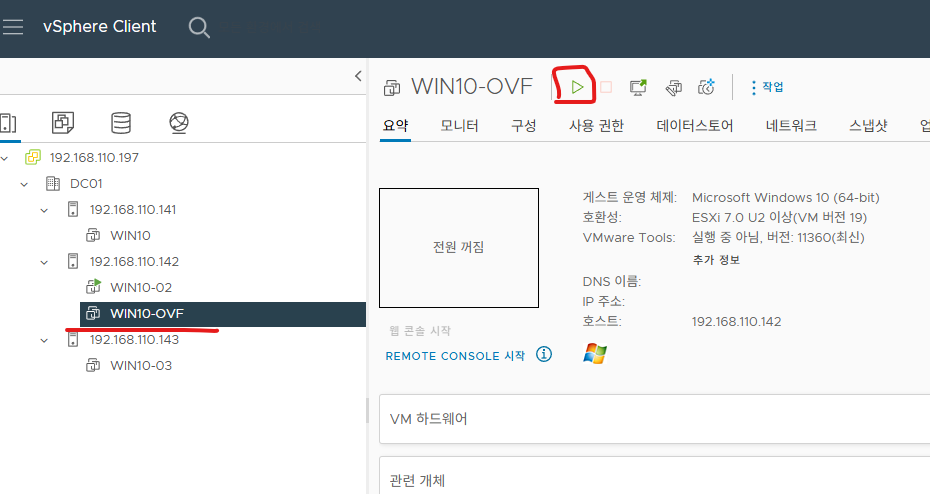
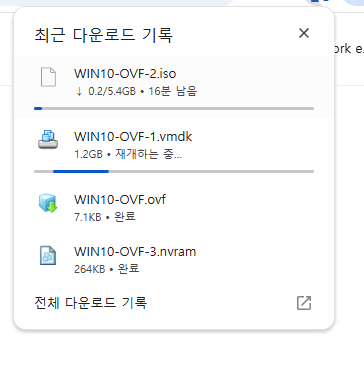
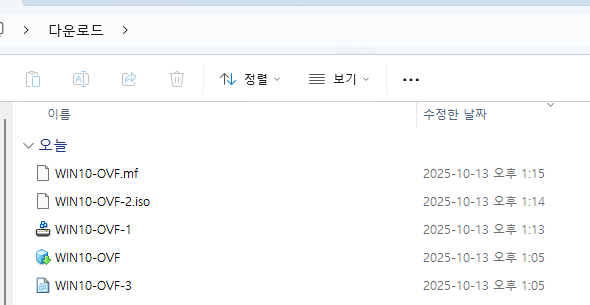
| [VMware vCenter][#15]- vCenter에서 OVF 설치 - 배포 가져오기 (0) | 2025.10.13 |