안녕하세요
오늘은 VMware ESXi에 Windows11를 설치하겠습니다.
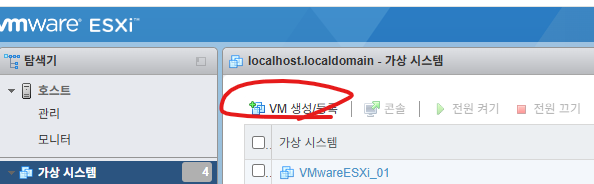
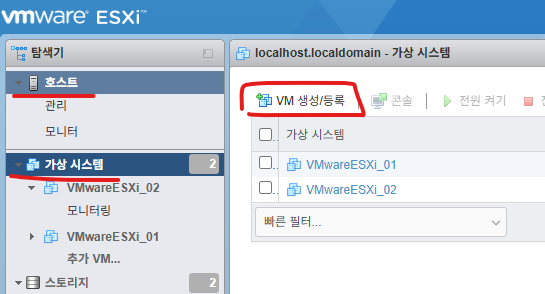
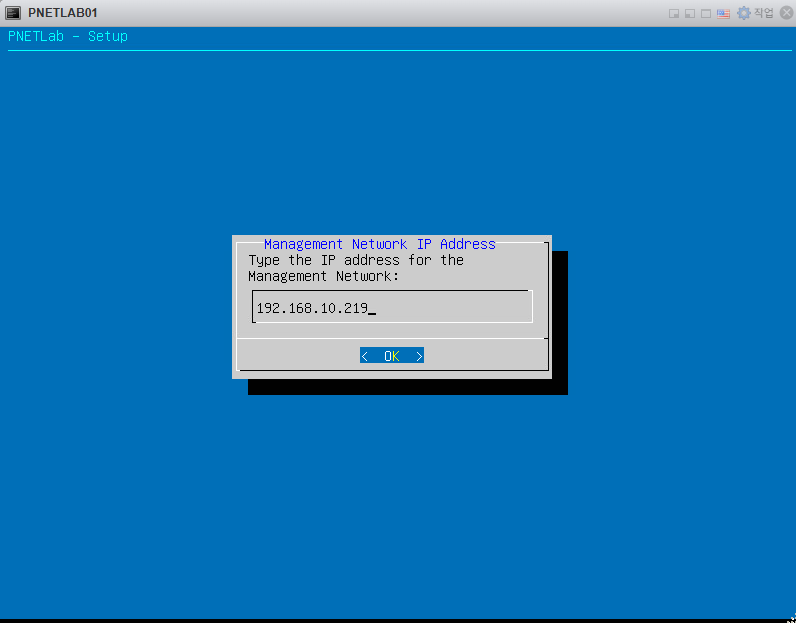
1. VMware ESXi 접속합니다
제 서버 IP주소는 192.168.10.219 입니다.
2. VM 생성/등록을 클릭 합니다.

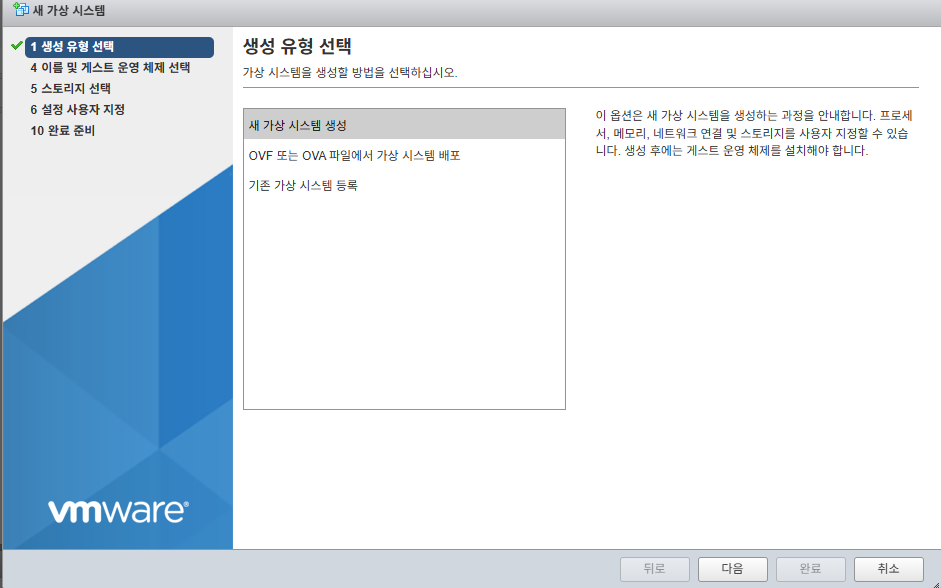
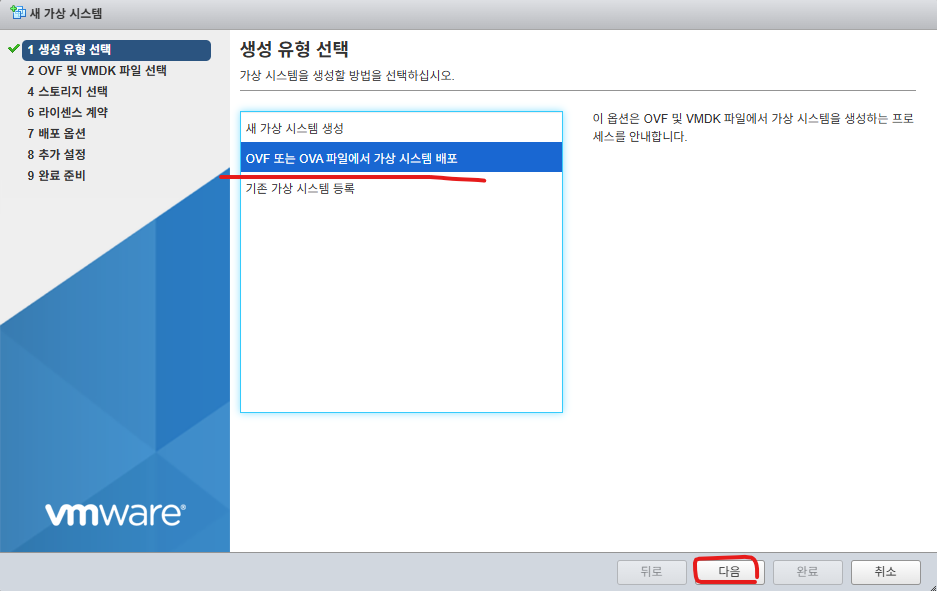
3.
새 가상 시스템 생성 클릭후 다음버튼을 클릭 합니다.

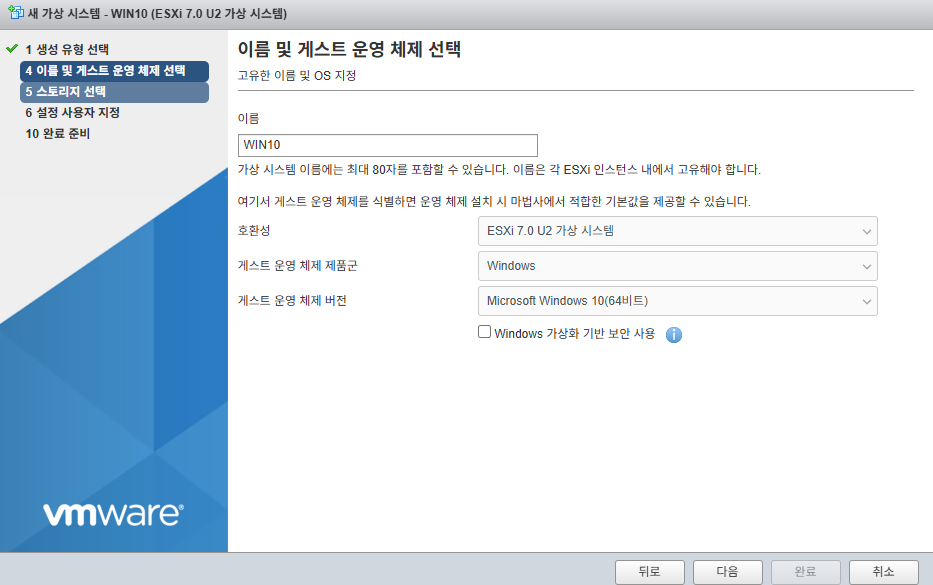
4. 아래처럼 선택하고 다음을 클릭합니다.

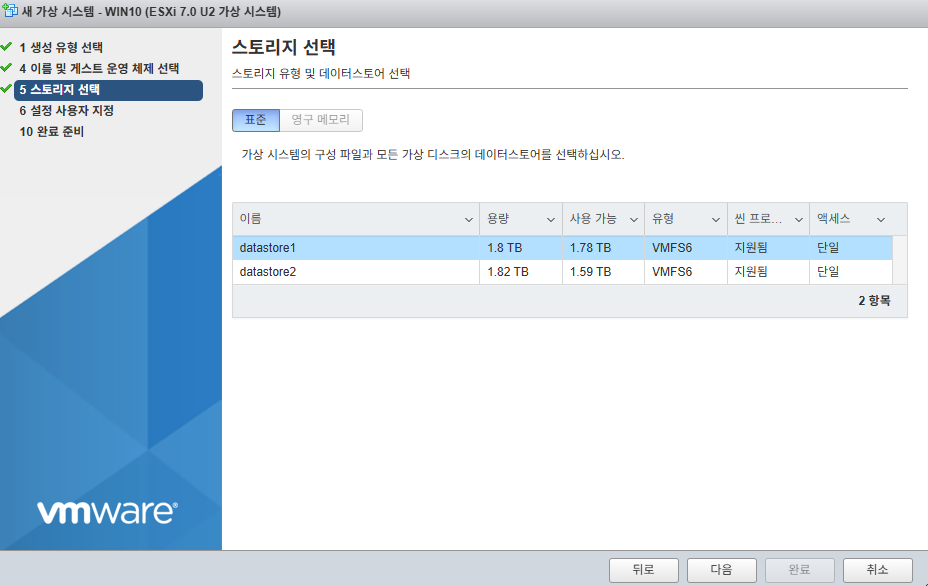
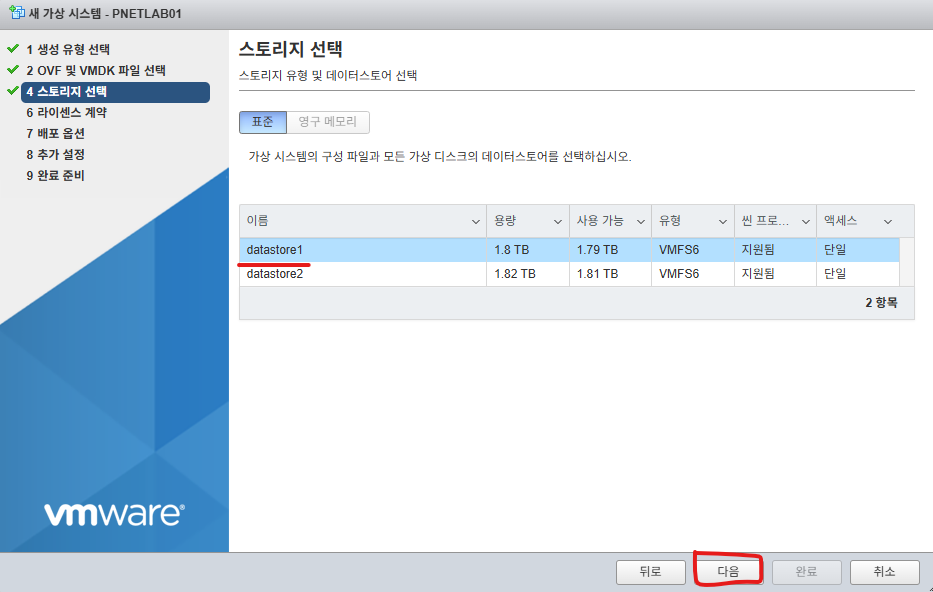
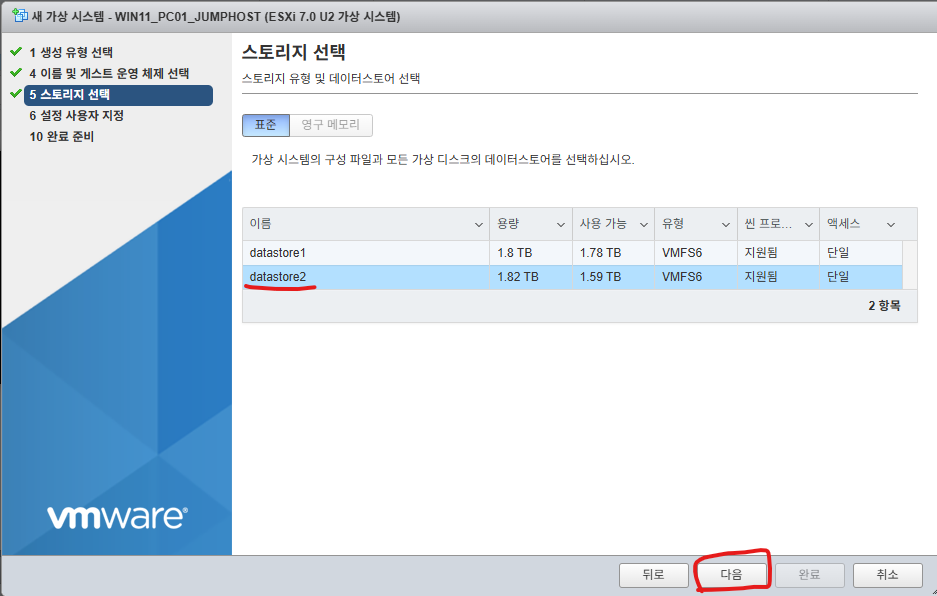
5. datastore2를 선택하고 다음버튼을 클릭합니다.
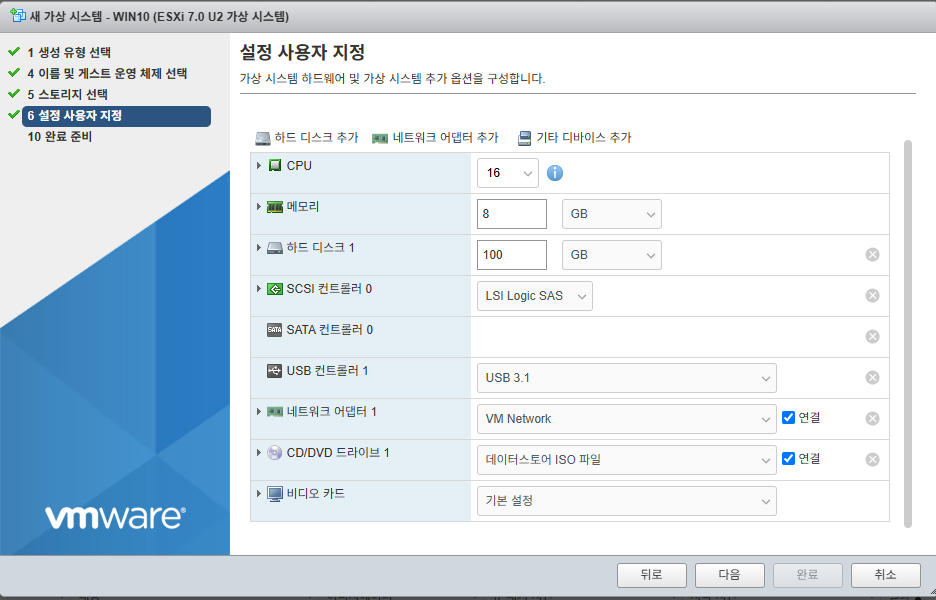
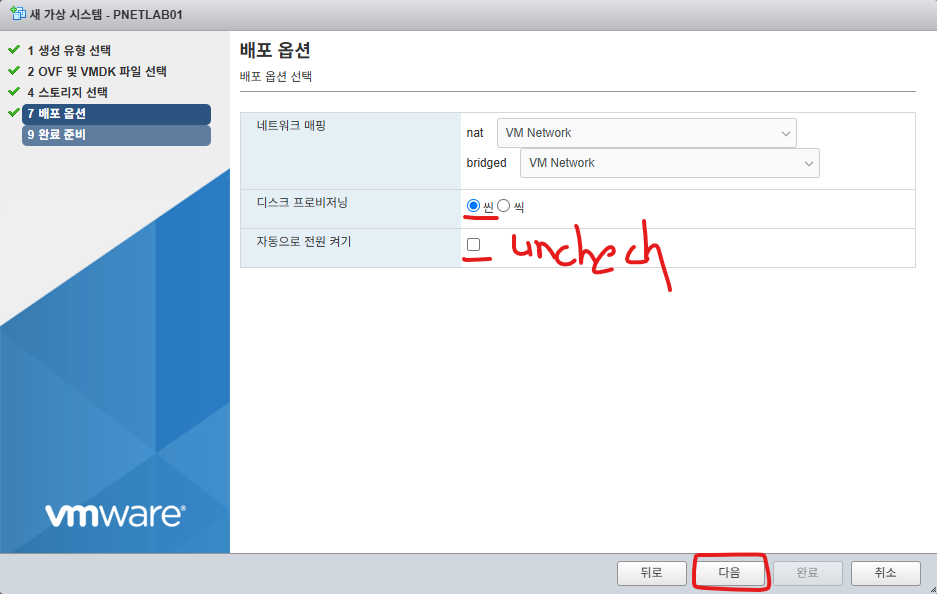
6. 아래처럼 수정합니다.

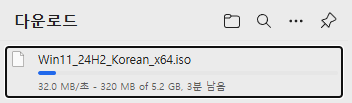
7. 윈도우11 ISO를 선택하고 다음 버튼을 클릭합니다.

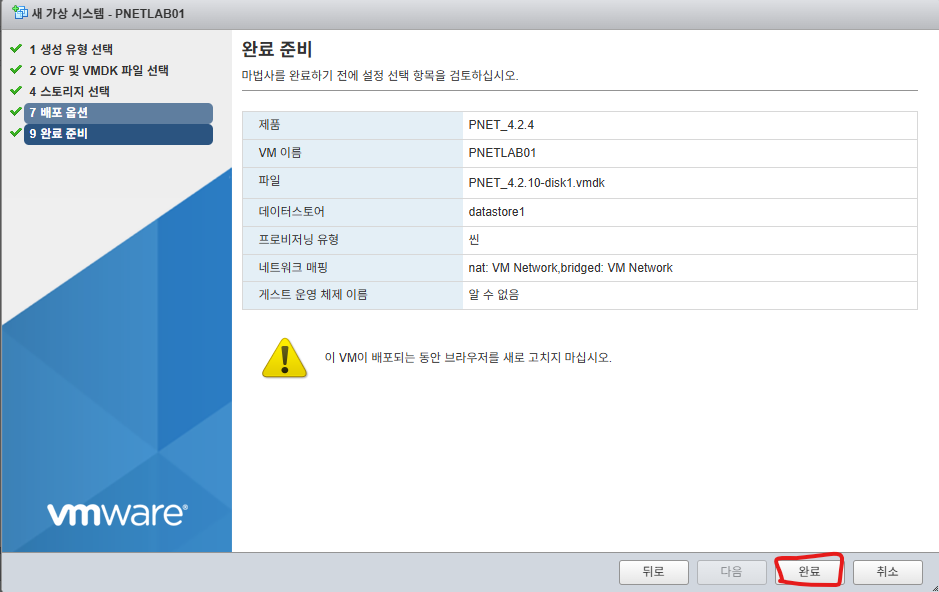
8. 완료버튼을 클릭합니다.

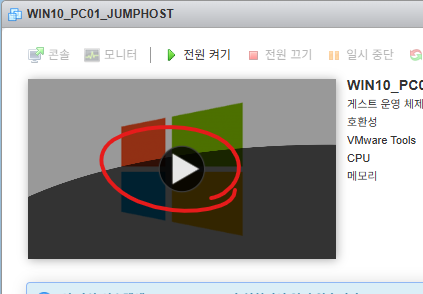
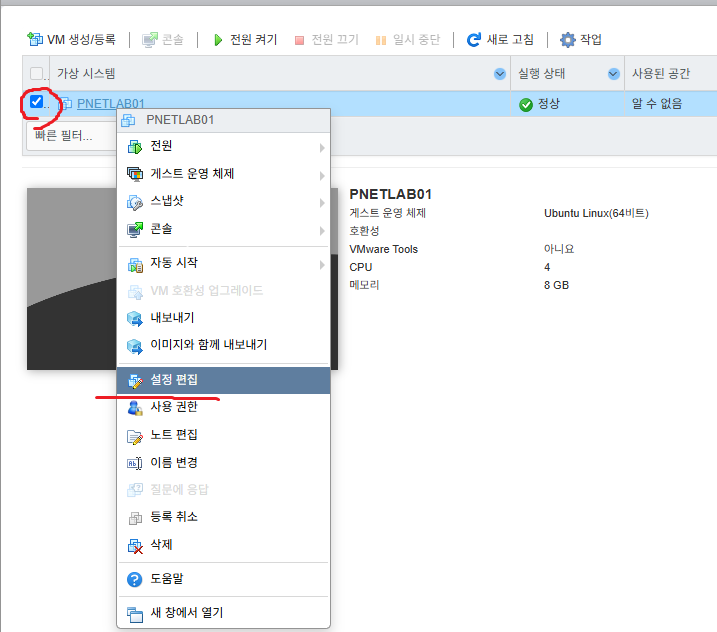
9. 실행버튼을 클릭합니다.

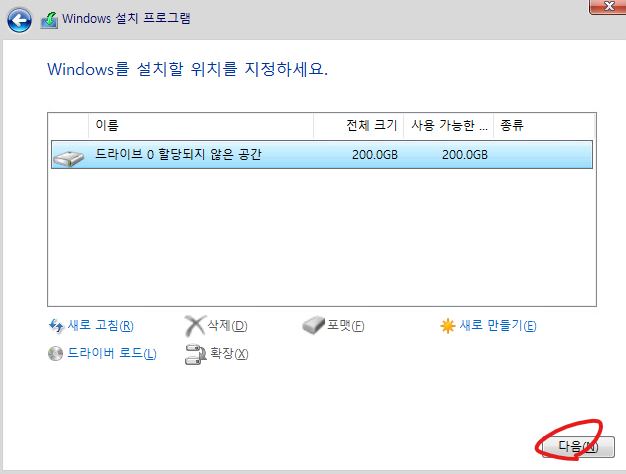
10. 설치를 진행 합니다.

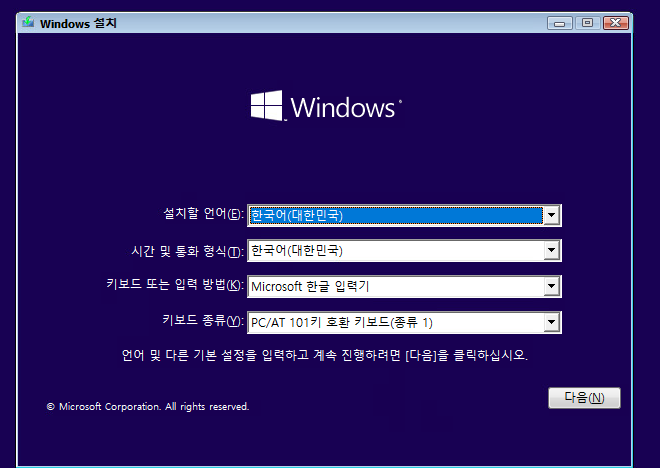
11. 다음버튼을 클릭합니다.

12. 다음버튼을 클릭합니다.
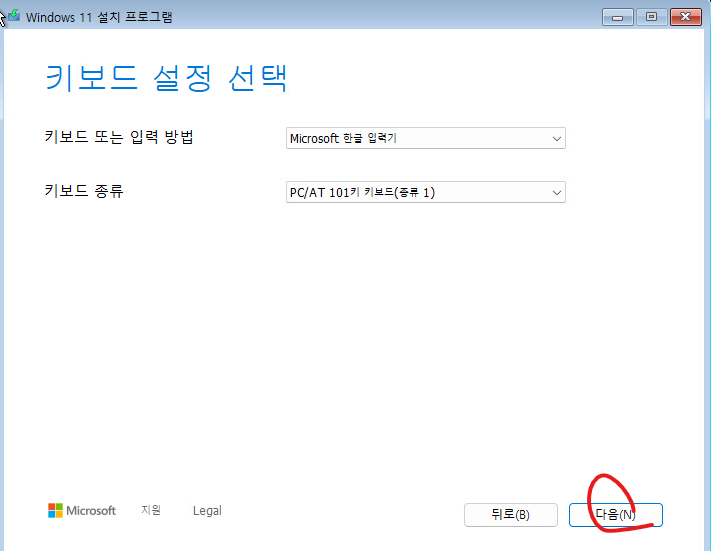
13. 다음버튼을 클릭합니다.

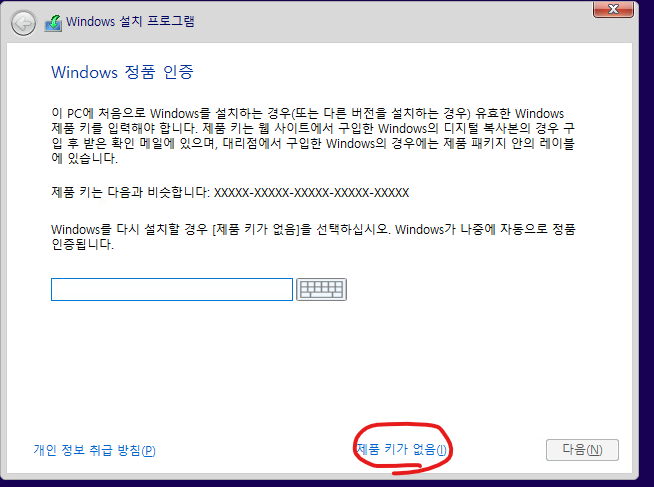
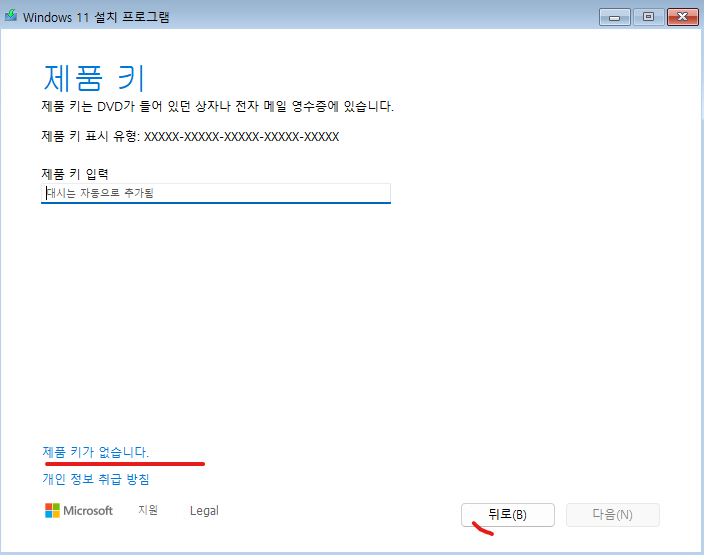
14. 제품 키가 없습니다. 클릭합니다.
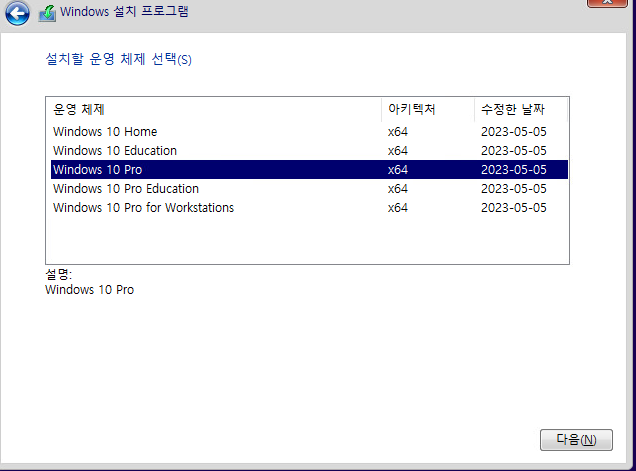
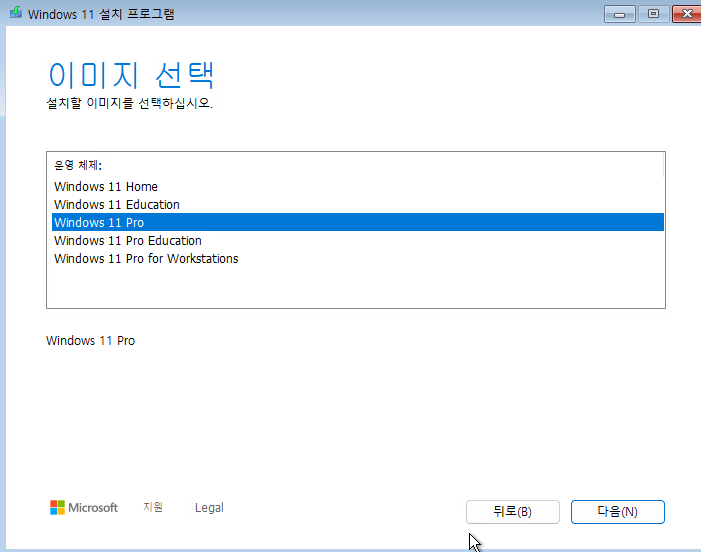
15. Pro를 선택합니다.
16. 설치를 계속 진행중에 아래처럼 에러 메시지가 발생합니다.
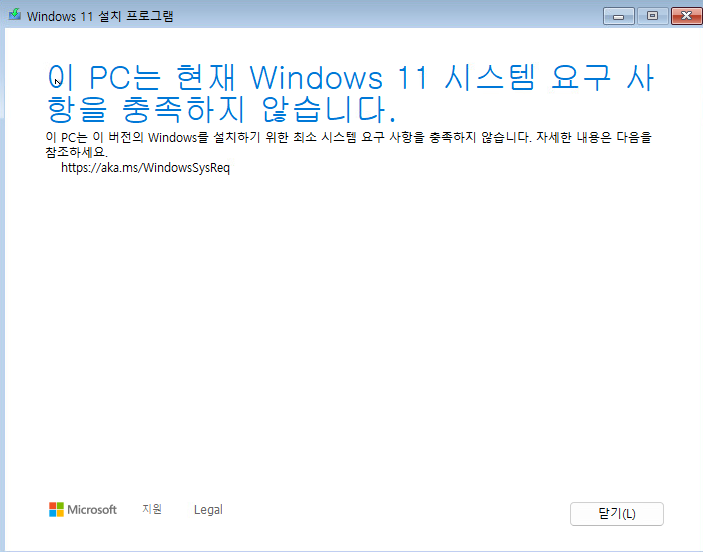
17. 아래 블로그를 참고 부탁드립니다.
https://itblog-kr.tistory.com/manage/posts/
티스토리
좀 아는 블로거들의 유용한 이야기, 티스토리. 블로그, 포트폴리오, 웹사이트까지 티스토리에서 나를 표현해 보세요.
www.tistory.com
위에 방식이 해결아 안되면 아래 방식 시도 부탁드립니다.
https://itblog-kr.tistory.com/252
[VMware ESXi][#12]- Windows11 설치 - Error Message 해결방법2
안녕하세요. VMware ESXi7에서 윈도우11 설치 할때 아래처럼 에러 메시지가 발생하는 경우 해결하는 방법에 대해서 알아보겠습니다. 더 에러메시지는 TPM때문에 발생합니다. 1. 설치 하는 과정에서
itblog-kr.tistory.com
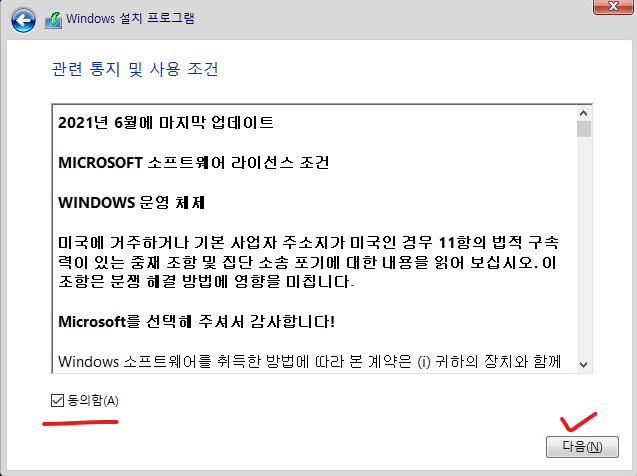
18. 동의를 클릭합니다.

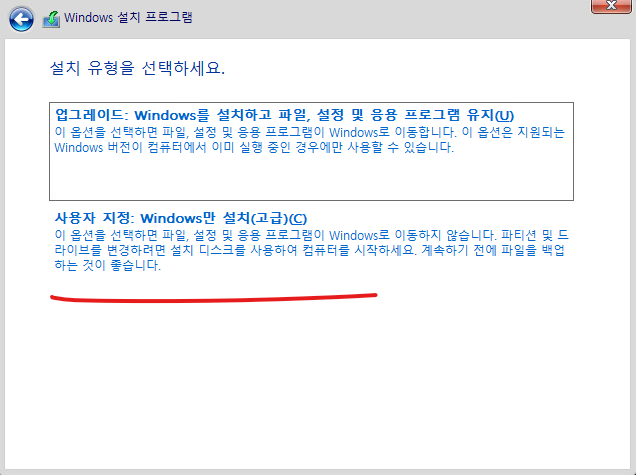
19. 다음을 클릭 합니다.

20. 설치 버튼을 클릭합니다.

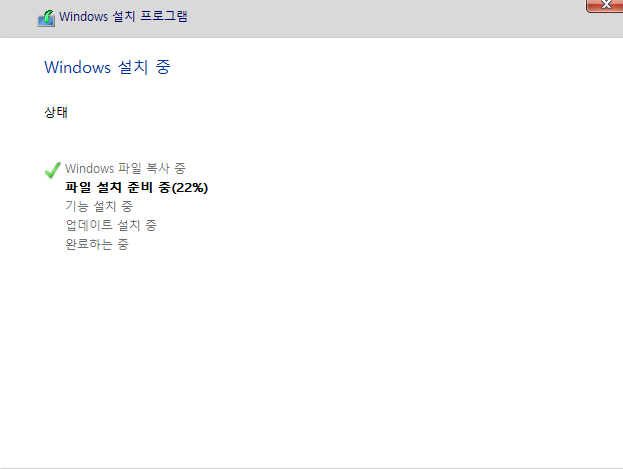
21. 100% 될때까지 기다립니다.

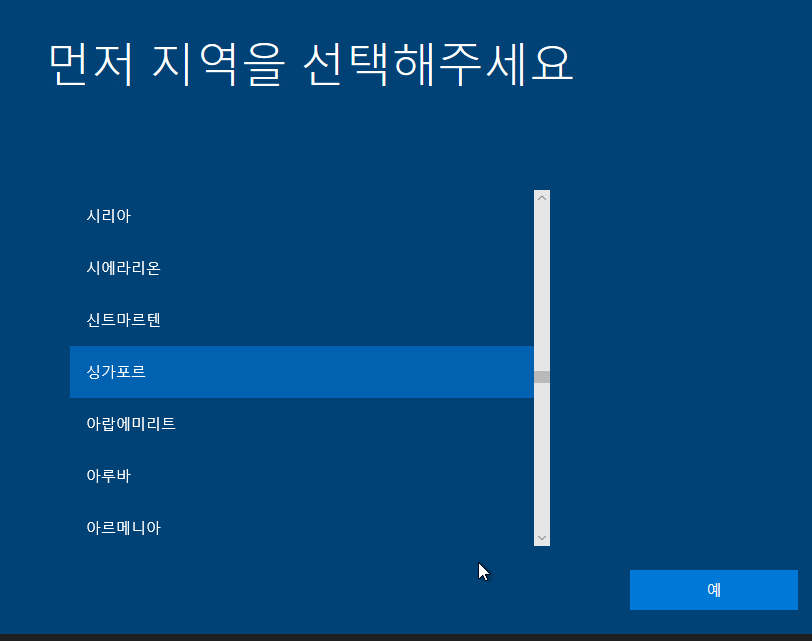
22. 국가를 선택하고 예 버튼을 클릭합니다.

23. 예 버튼을 클릭합니다.

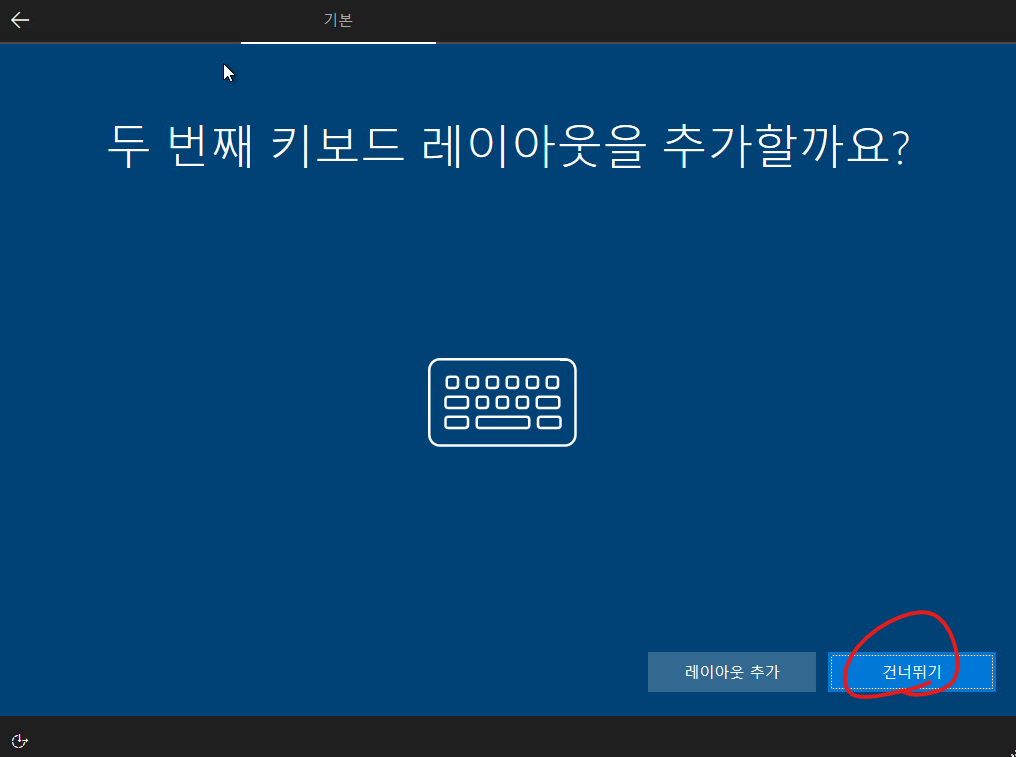
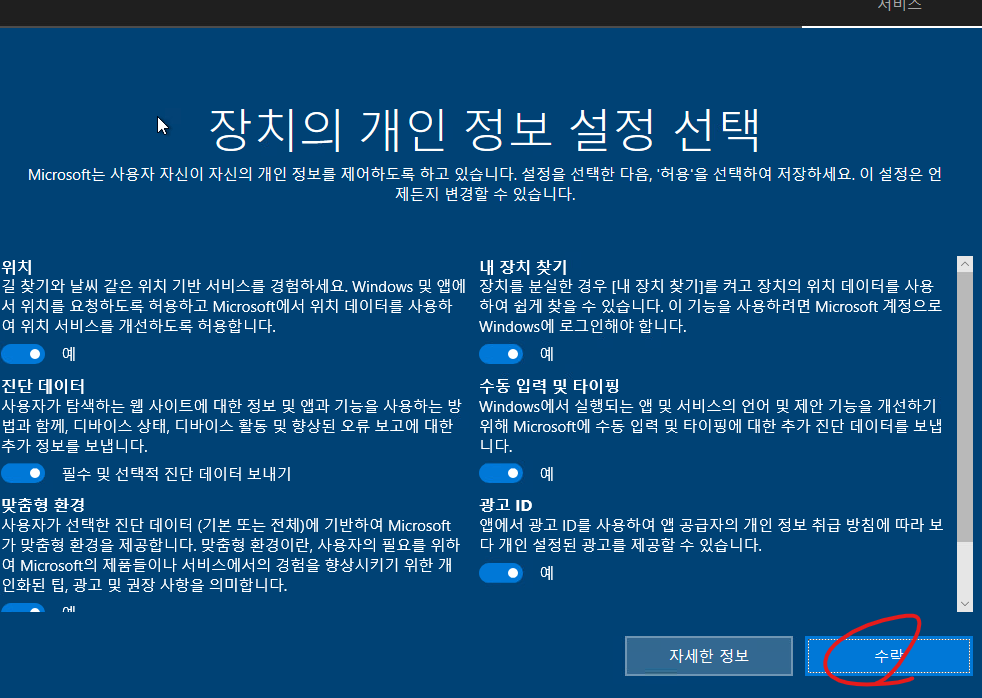
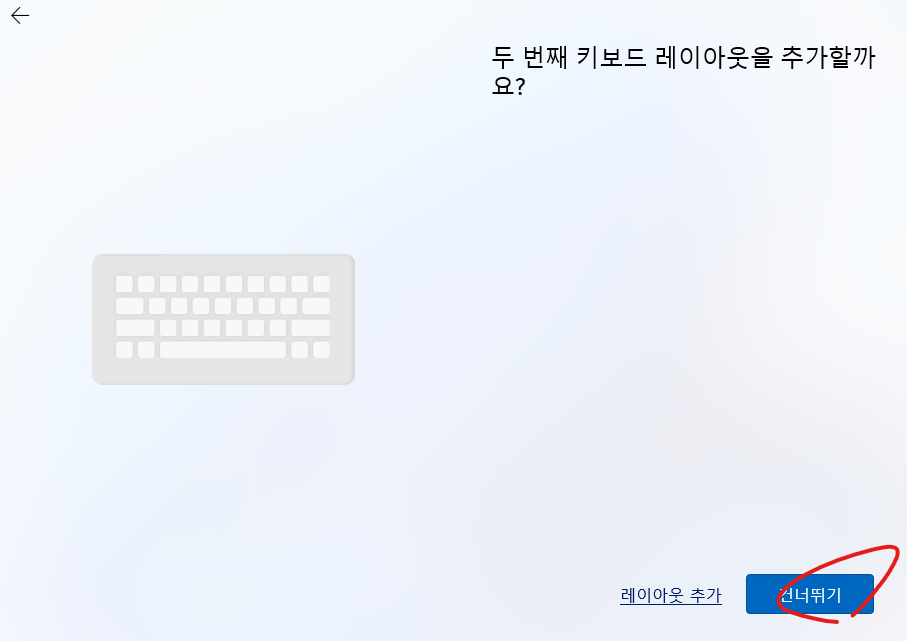
24. 건너뛰기를 클릭합니다.
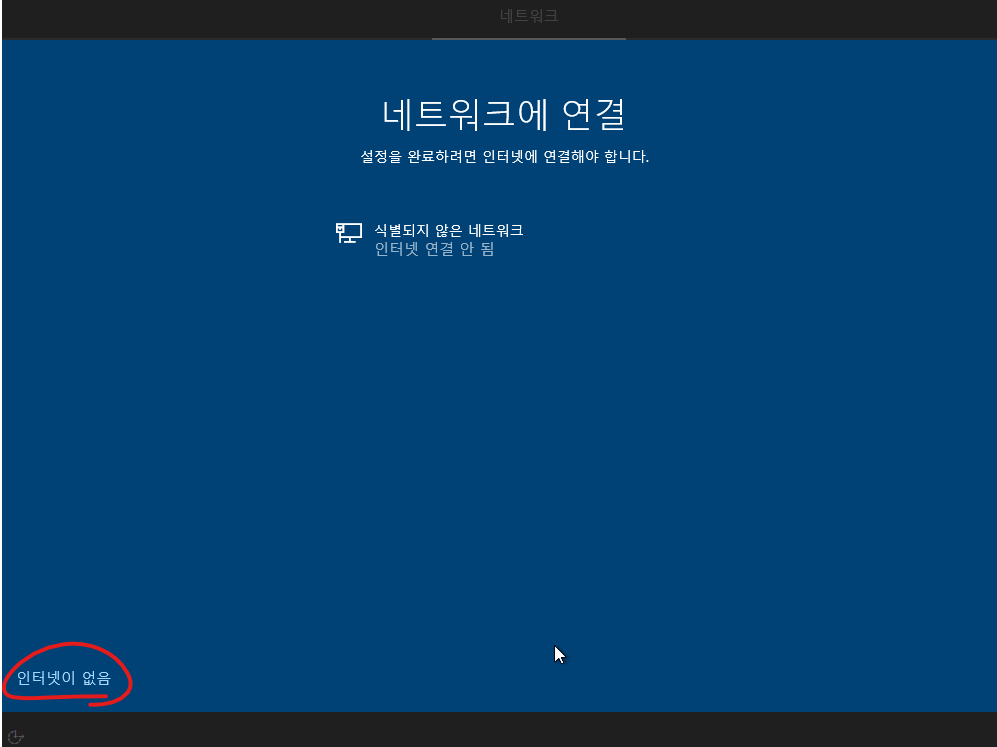
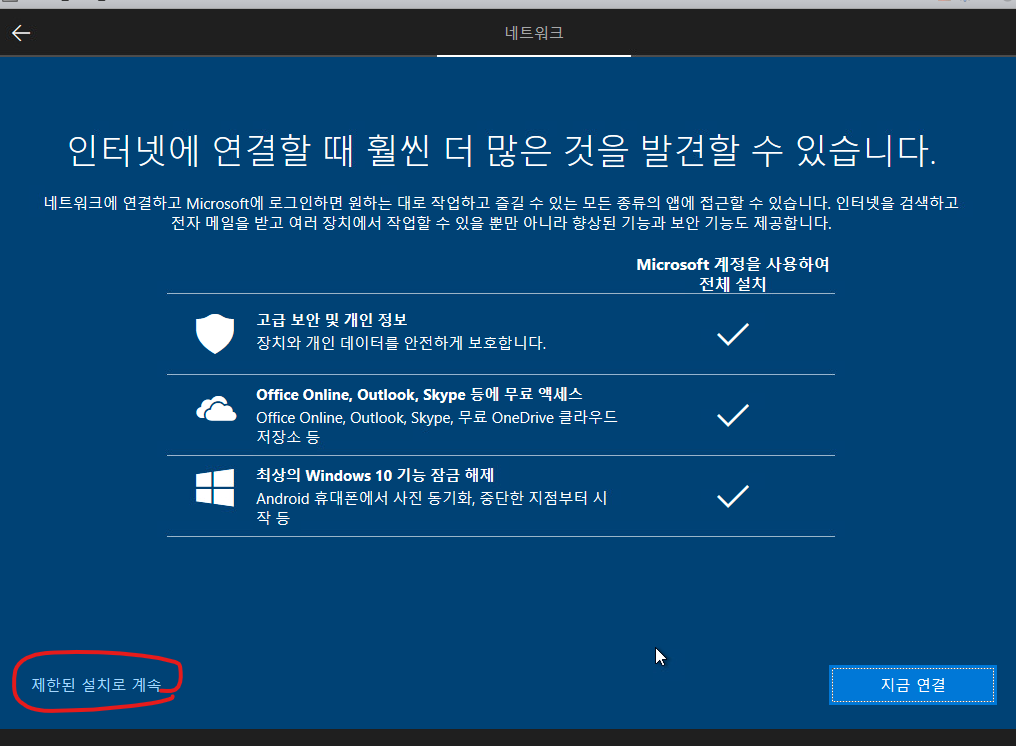
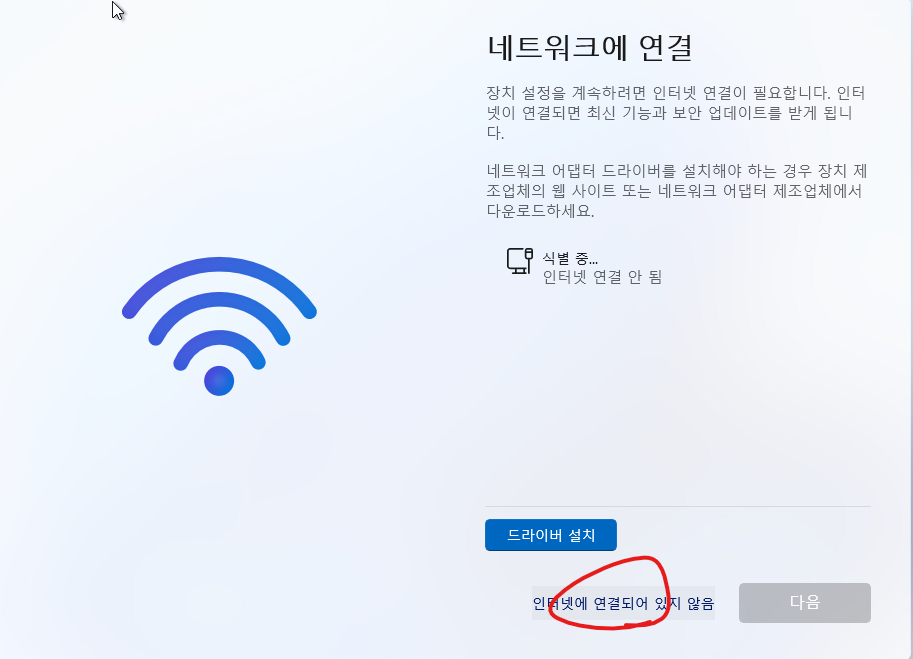
25. 설치 할때 인터넷이 필요합니다.
Offline으로 인터넷없이 설치 하는 방법
shift + f10
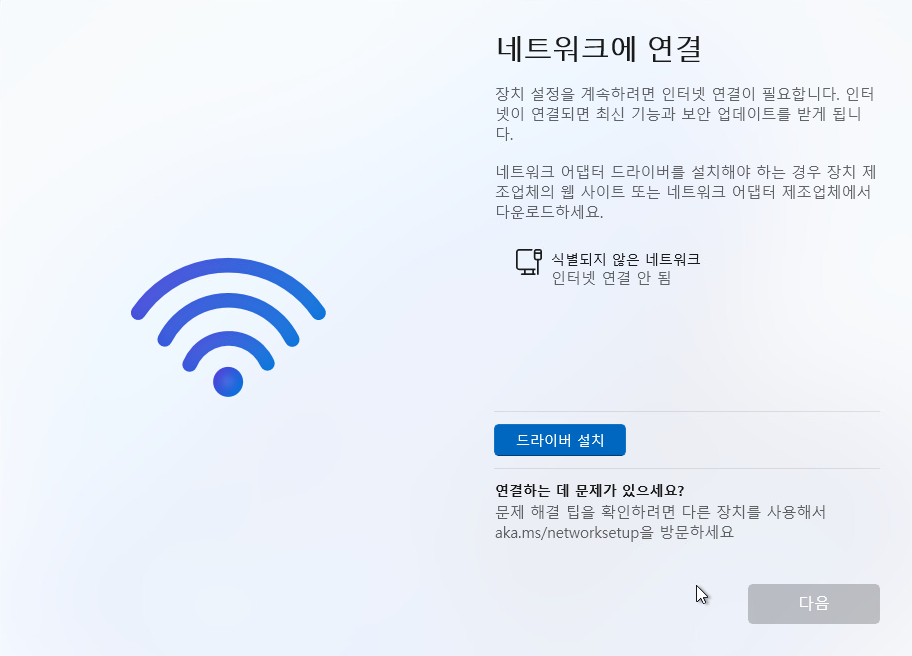
아래처럼 입력합니다.

그리고 아래처럼 인터넷에 연결외어 있지 않음을 클릭 합니다.
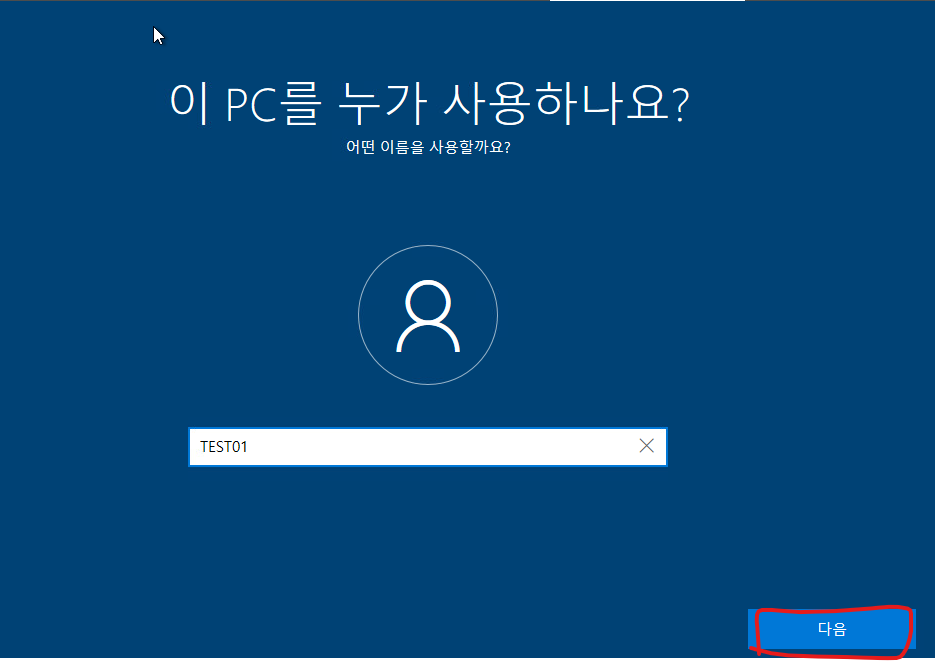
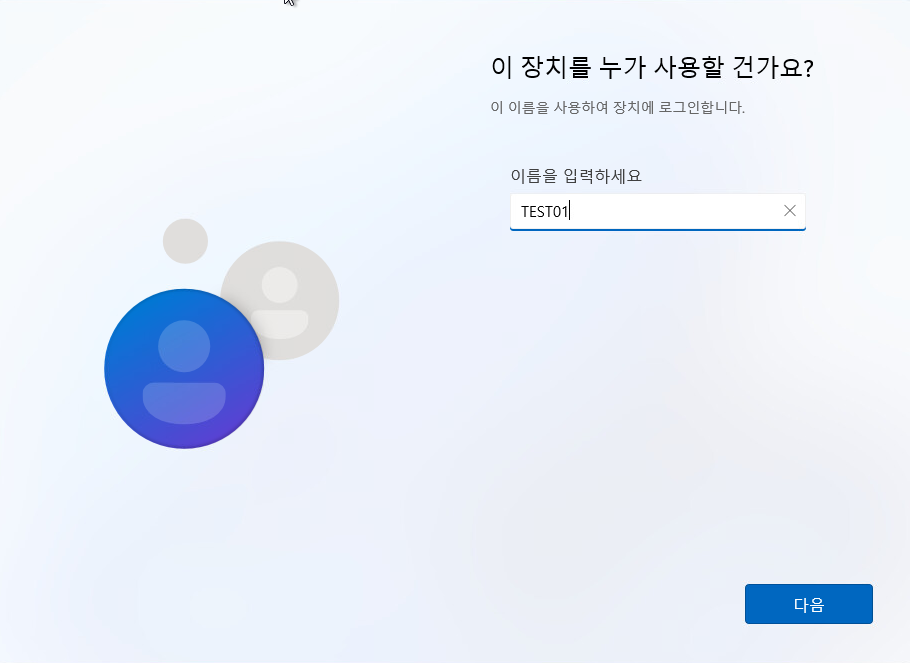
26. 이름을 입력하고 다음버튼을 클릭 합니다.
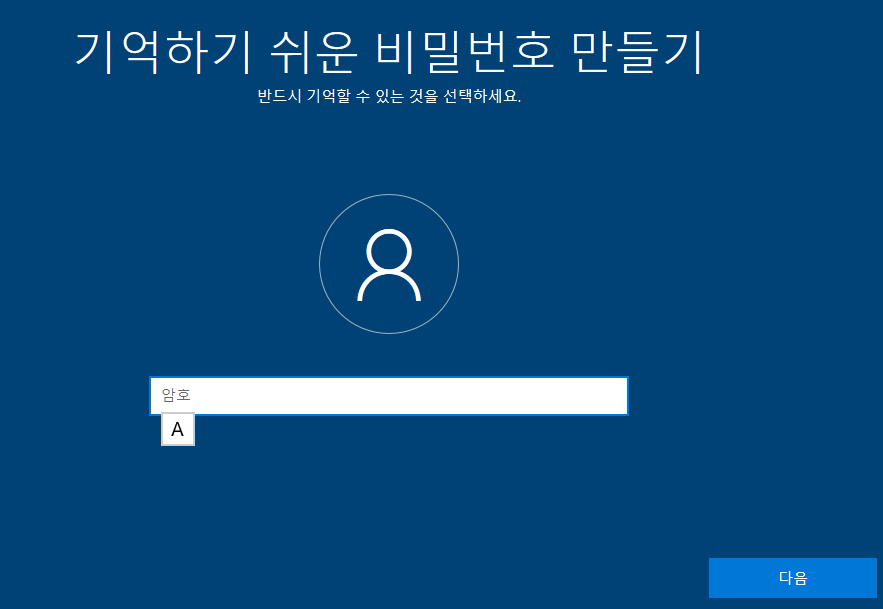
27. 암호를 입력합니다.
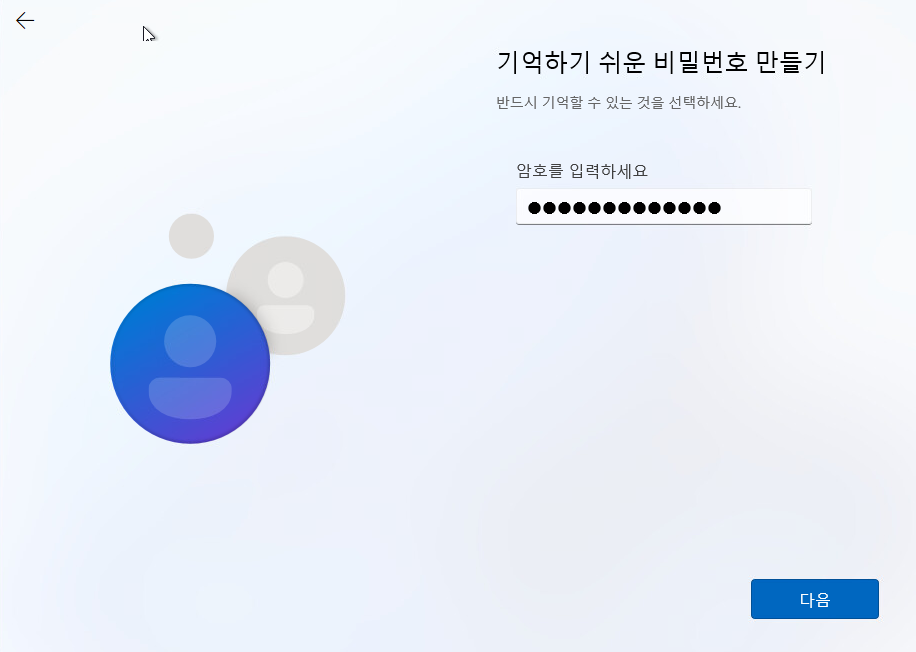
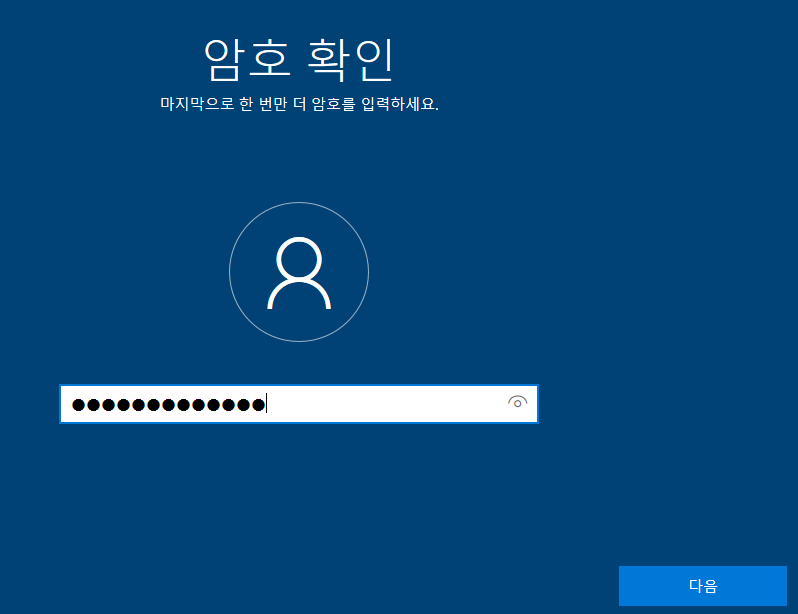
28. 암호를 다시 입력합니다.

29. 다음버튼을 클릭합니다.

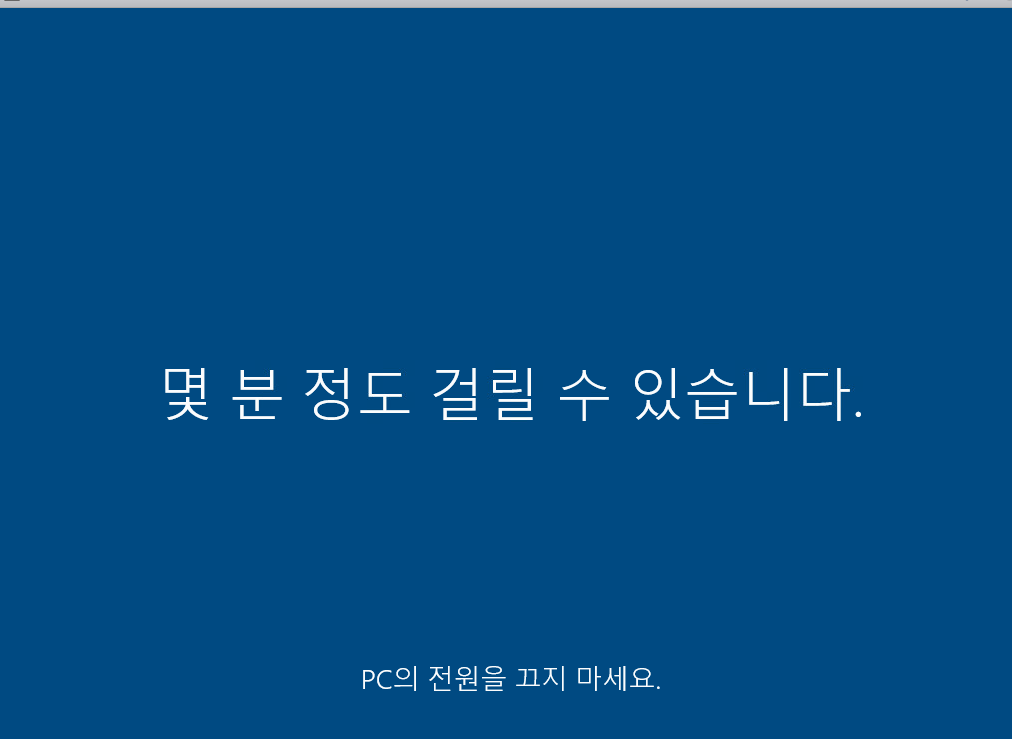
30. 설치가 완료 될때까지 기다립니다.

31. 설치가 완료 되어서 자동으로 부팅 되었습니다.

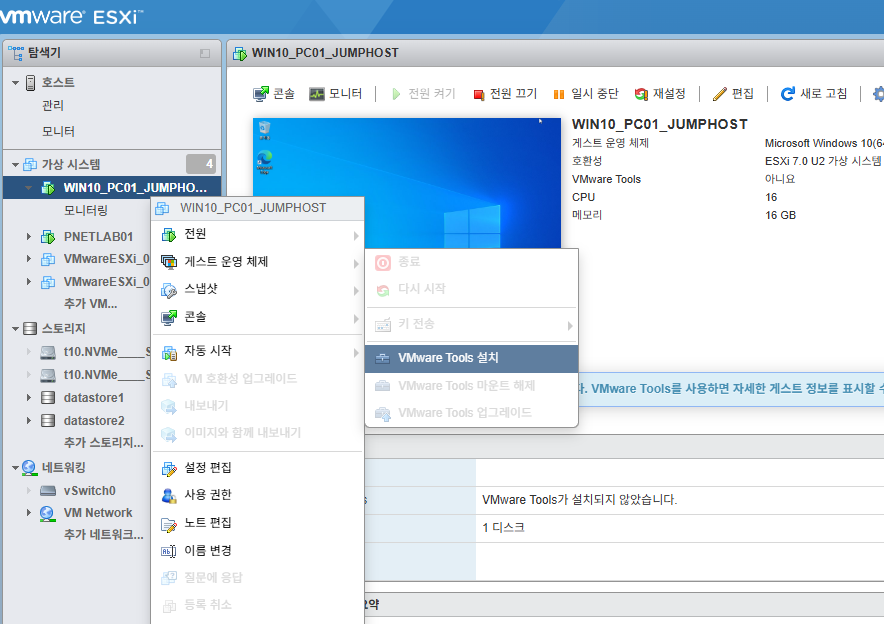
32. 윈도우11에 VMware Tools 설치를 클릭합니다.
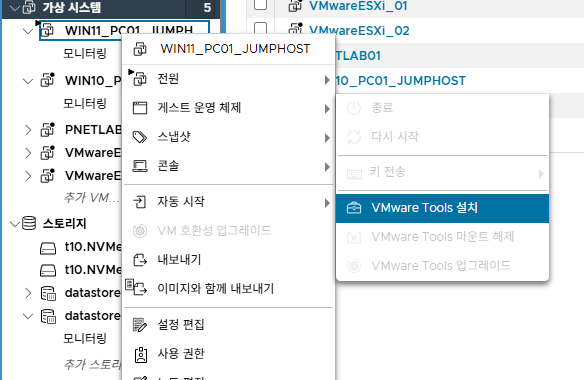
33. VMware Tools를 클릭 합니다.

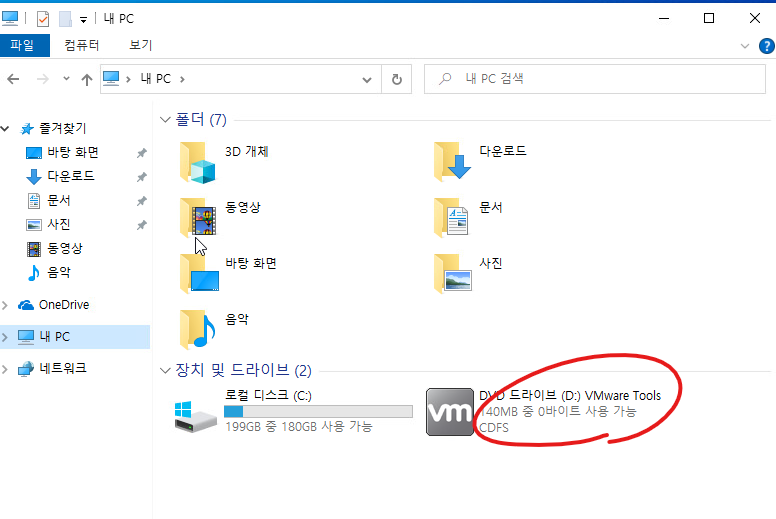
34. setup를 클릭합니다.

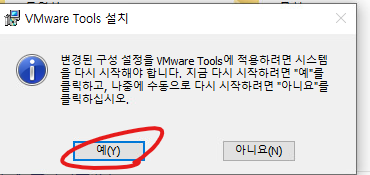
35. 예를 클릭합니다.

36. 다음을 클릭합니다.

37. 다음을 클릭합니다.

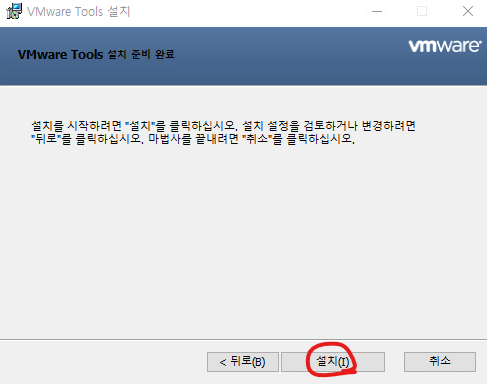
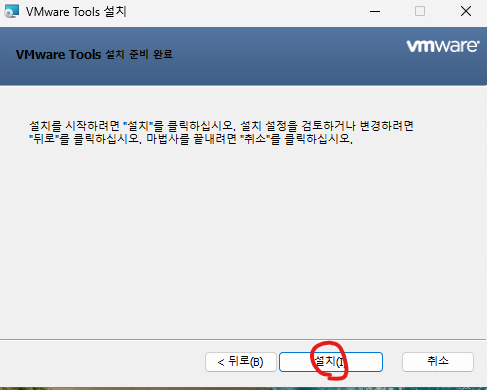
38. 설치를 클릭합니다.
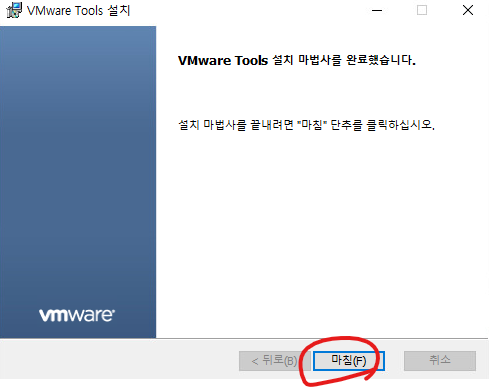
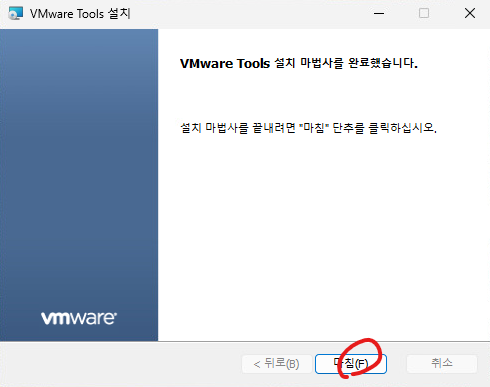
39. 마침을 클릭합니다.
'가상화(Virtualization) > VMware ESXi' 카테고리의 다른 글
| [VMware ESXi][#10]- ESXi patch update (0) | 2025.05.17 |
|---|---|
| [VMware ESXi][#9]- Windows11 설치 - Error Message (0) | 2025.05.17 |
| [VMware ESXi][#7]- Windows10 설치 (0) | 2025.05.17 |
| [VMware ESXi][#6]- PNETlab Disk 확장 (0) | 2025.05.17 |
| [VMware ESXi][#5]- PNETlab 설치 (0) | 2025.05.17 |