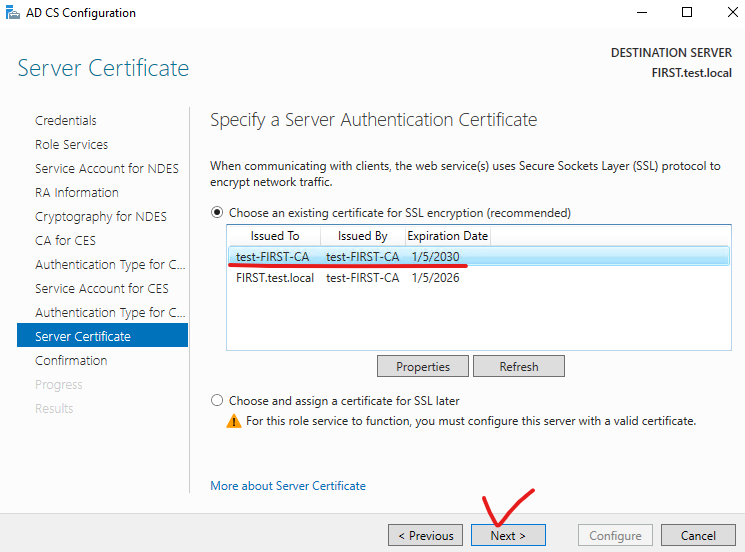
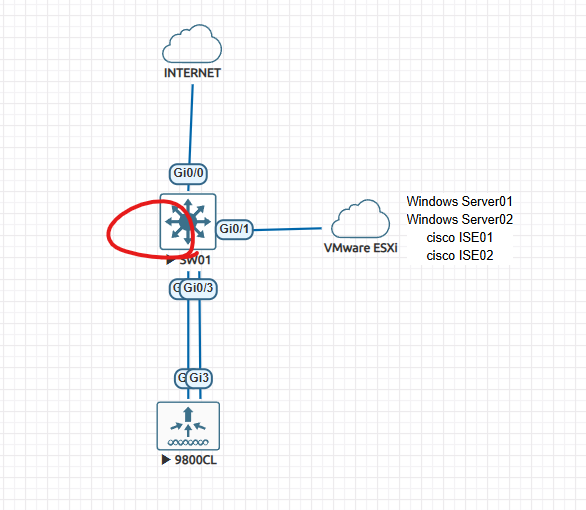
안녕하세요.
오늘은 cisco ise persona에 대해서 좀 더 상세히 알아보겠습니다.
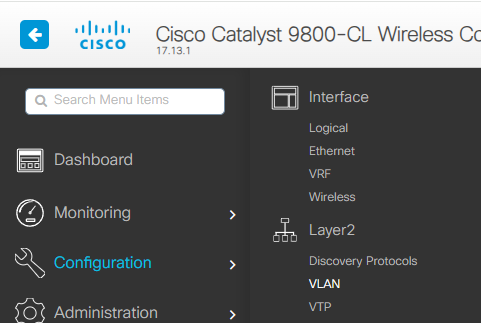
저번 글에서 cisco ise persona는 4가지가 있다고 설명 하였습니다.
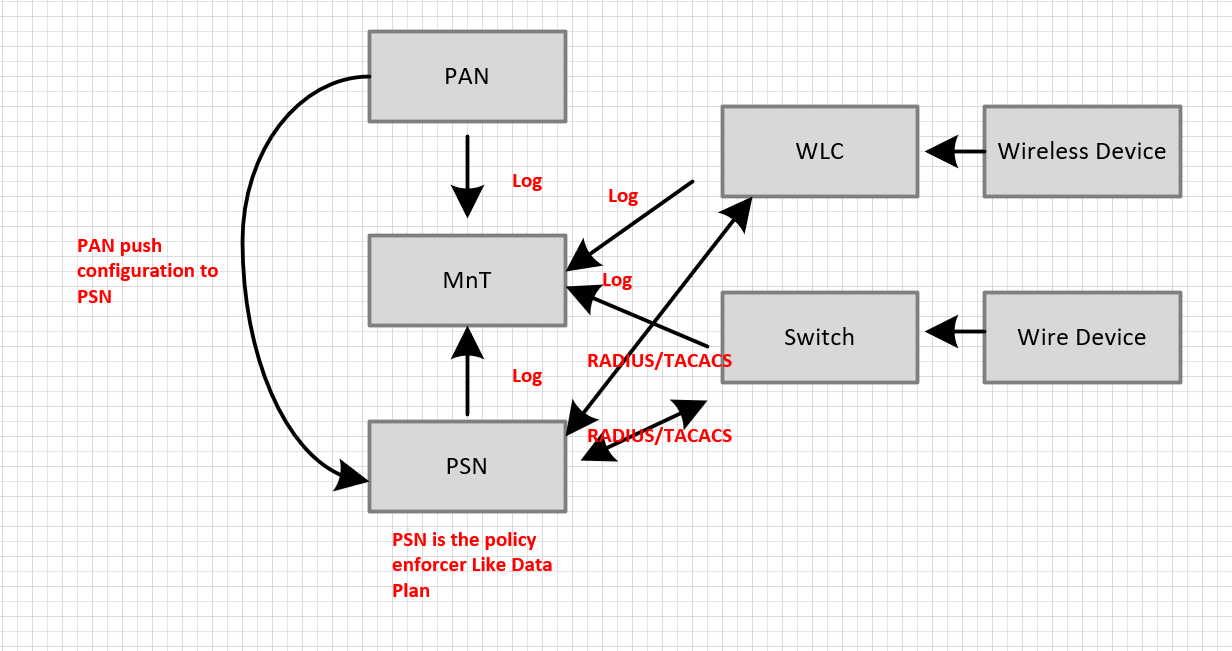
Policy Services Node(PSN) - Makes policy decisions, RADIUS/TACACS+ Servers
Policy Administration Node(PAN) - Single Plane of glass for ISE admin, Replication hg for all database config changes
Monitoring and Troubleshooting Node (MnT) - Reporting and logging node, syslog collector from ISE nodes
pxGrid Contoller - Facilitates sharing of conext
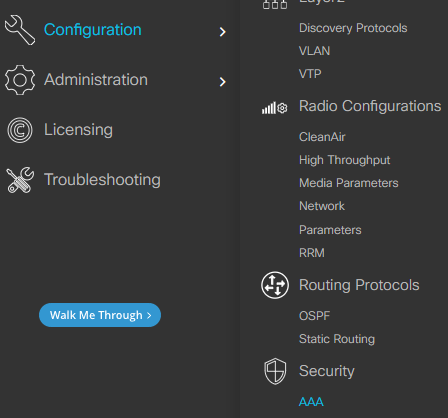
** PAN **
1. GUI로 기능들을 설정 할수 있습니다.
2. PAN은 다른 NODE를 SYN 합니다.
3. PAN HA - 최대 2개 Node만 지원합니다. 그리거 Active/Standby 기능만 지원 합니다.
4. GUI 설정/수정/삭제 등을 하면 PAN은 설정값을 PSN으로 Push합니다.

** PSN **
1. 인증,권한 등을 처리 합니다.
2. PSN HA, 최대 50개 까지 가능합니다. Active/Active로 동작 합니다.
3. PSN은 Network Access, Posture, Guest access, Client provisioning * Profiling 서비스를 제공합니다.
4. Radius/Tacacs기능을 수행합니다.
5. COA, Posturing and Profileling Service를 기능을 수행합니다.
6. Bulit-in CA기능도 수행합니다.
7. Authentication request 받고 인증된 사용자 또는 단말기인지를 확인 합니다.
8. PSN은 직접 External identity store 통신합니다.

** MnT **
1. Log를 수집하는 역활을 하고 Log 관련 정보를 확인 가능 합니다.
2. Log는 cisco ISE 자체 storage에 저장 됩니다.
3. Troubleshoot에 필요한 Tools도 제공합니다.
4. MnT HA Node는 최대 2개입니다. - Active/Standby만 지원
5. Active/Standby node 모두다 Log를 저장합니다.
6. Report를 생성 할 수 있습니다.
7. MnT는 PAn, PSN, RADIUS & TACACS 등에 로그들 수집합니다.
**pxGrid **
1. 외부 Third pard vendor랑 연동 할때 사용 합니다.

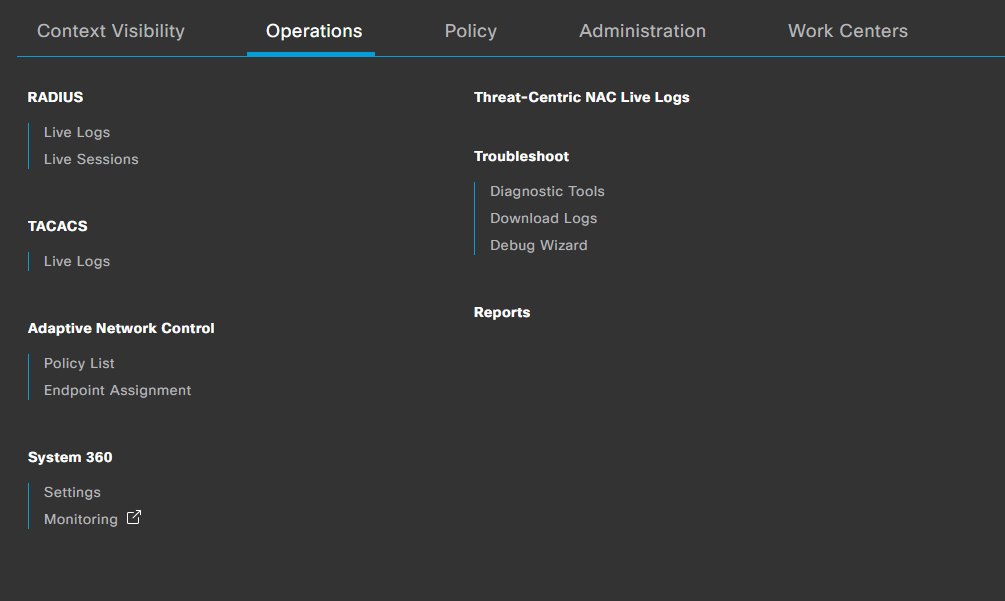
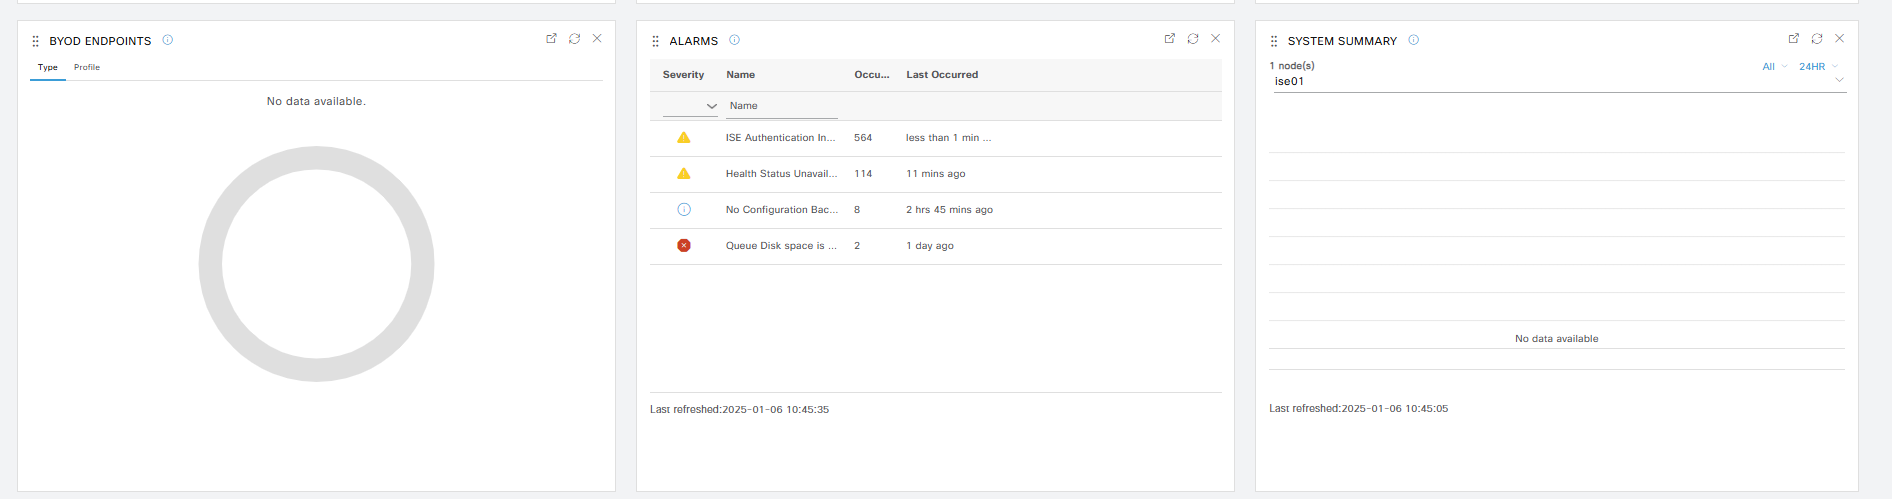
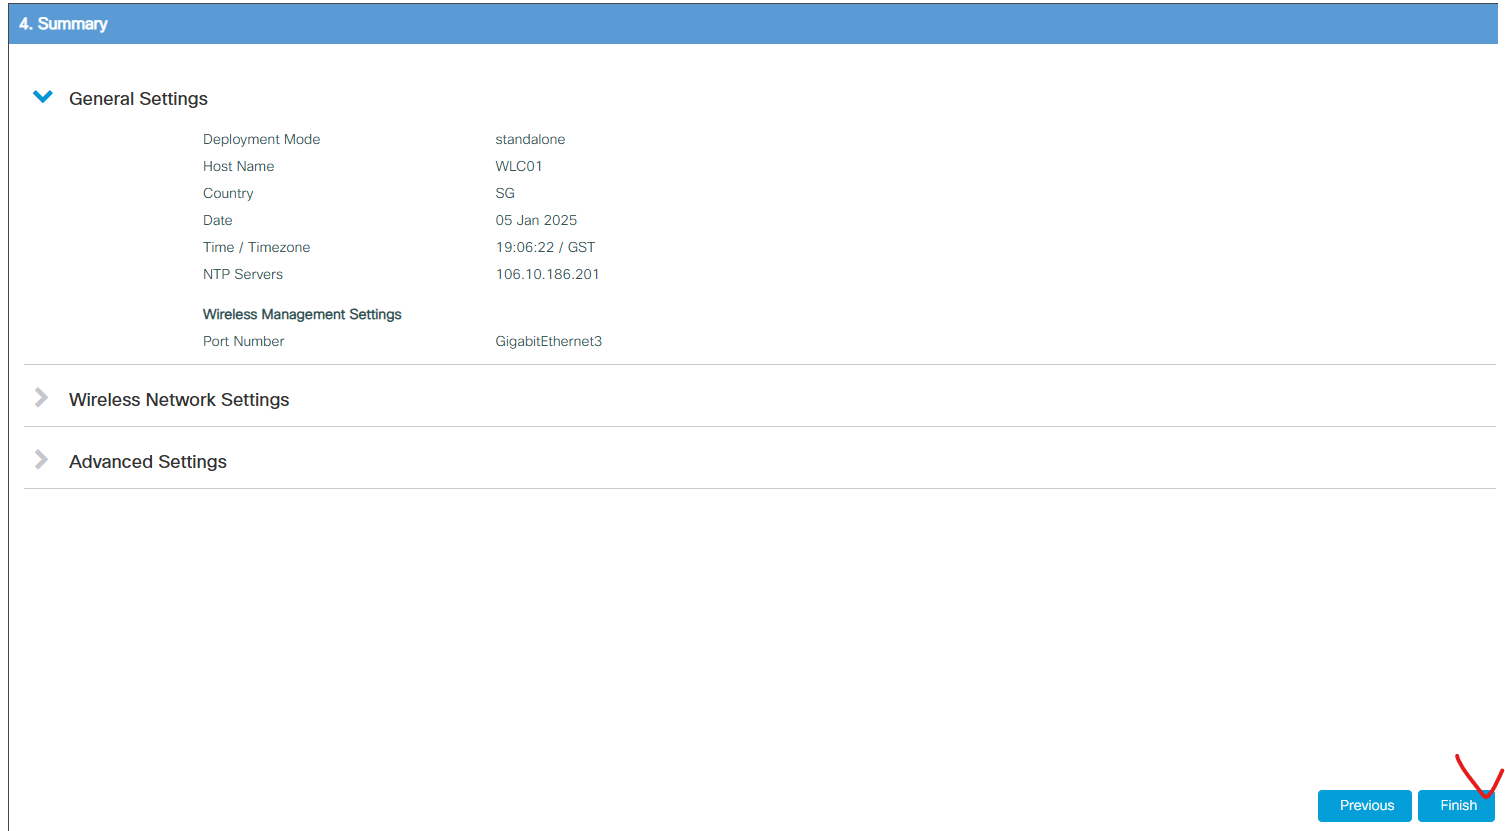
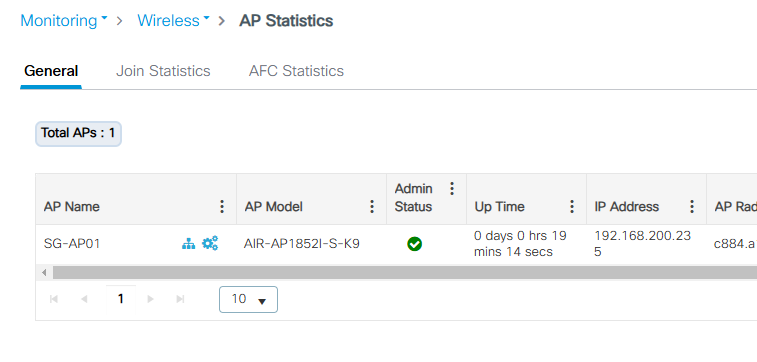
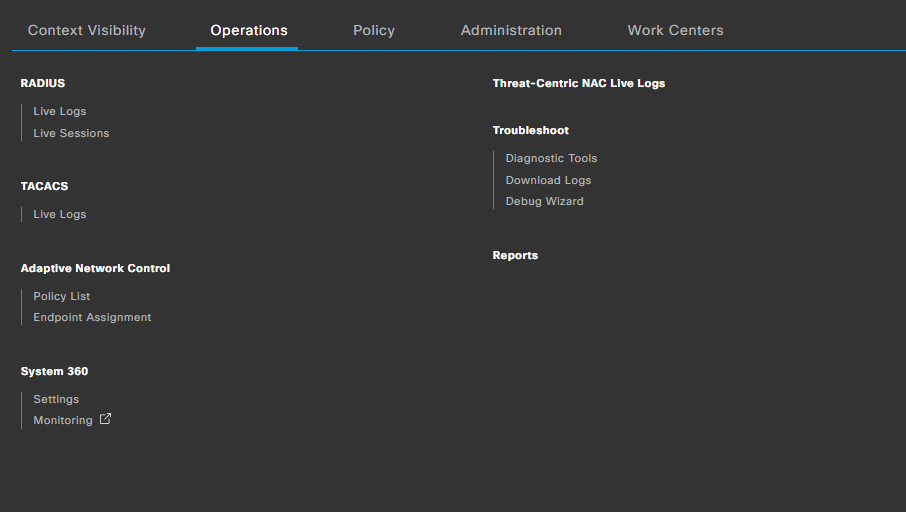
아래 사진에 보시면 Operations이 MnT에 해당 됩니다.
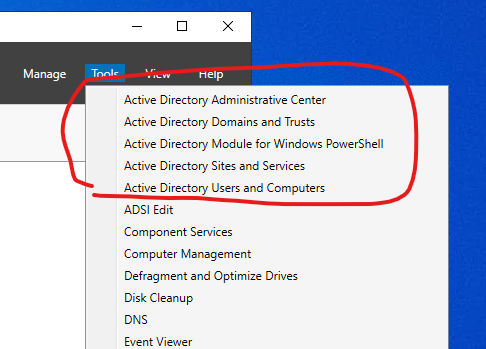
1. Administration -> system -> Deployment 클릭 합니다.
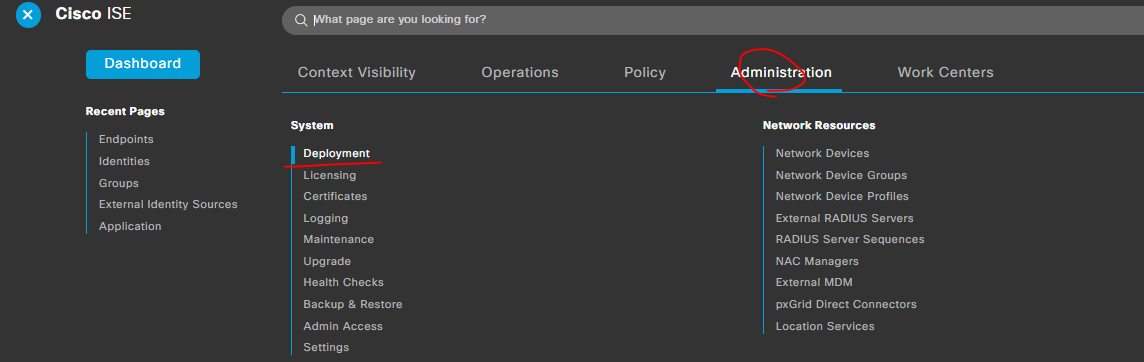
2. ise01를 클릭 합니다.


위에 사진처럼 현재 어떤 Persona가 Enable되어져 있고 동작중인지 확인 가능 합니다.
위에 사진에 pxGrid를 Enable하면, 현재 cisco ISE standalone으로 동작중이고 아래처럼 4가지 Persona기능을 하고 있습니다.

만약에 HA로 구성하면 어떤 ISE Node가 어떤 Persona기능을 할지 선택 가능 합니다.
지금 까지 [2025][CISCO ISE#17] - Personas 글을 읽어주셔서 감사합니다.
'CISCO > CISCO ISE' 카테고리의 다른 글
| [2025][CISCO ISE#19] - License Register (0) | 2025.01.06 |
|---|---|
| [2025][CISCO ISE#18] - License (0) | 2025.01.06 |
| [2025][CISCO ISE#16] - Deployment Terminology (0) | 2025.01.06 |
| [2025][CISCO ISE#15] - Dashboard (0) | 2025.01.06 |
| [2025][CISCO ISE#14] - WLC configuration (0) | 2025.01.05 |